


Would you like to transfer or synchronize data?
You can try FREE APPLICATION from online stores:



PhoneCopy.com makes it simple to back up your contacts from Apple iPhone 13 to the cloud. In this guide, we will walk you through the entire process step by step.
This guideline also works for similar devices like Apple iPhone 12 mini, Apple iPhone 12 Pro, Apple iPhone 12 Pro Max, Apple iPhone 13 mini, Apple iPhone 13 Pro, Apple iPhone 13 Pro Max 5G, Apple iPhone 14.
Run the app and create new account.
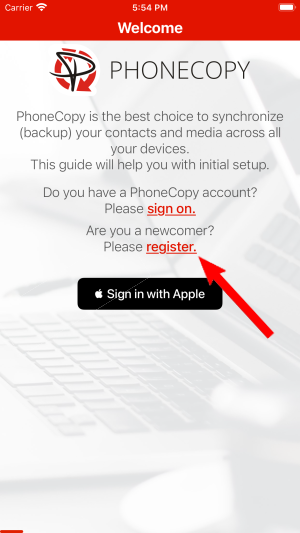
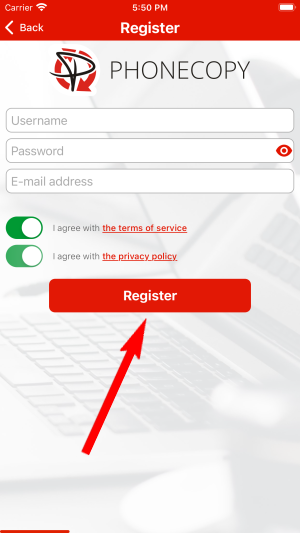
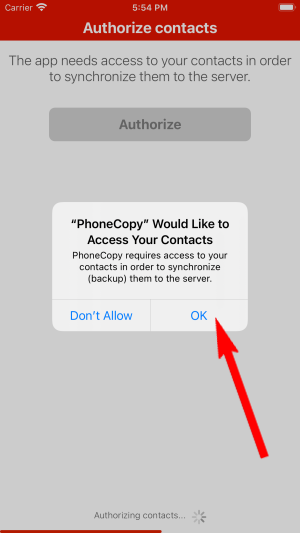
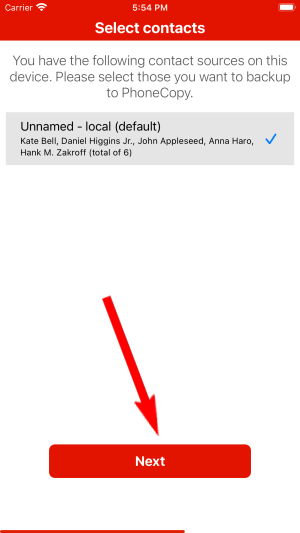
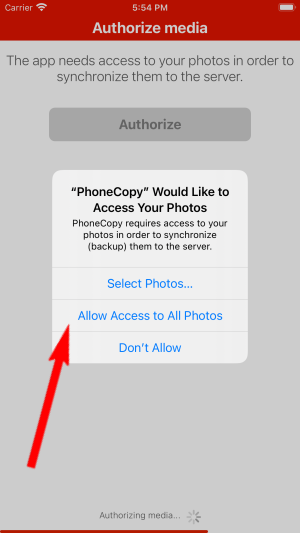
Then you need to allow PhoneCopy access to your contact list and select contacts which will be synchronized

You can synchronize photos and videos too. Please note that the authorization of photos or videos is not required. If you will not grant it, PhoneCopy will only synchronize your contacts.


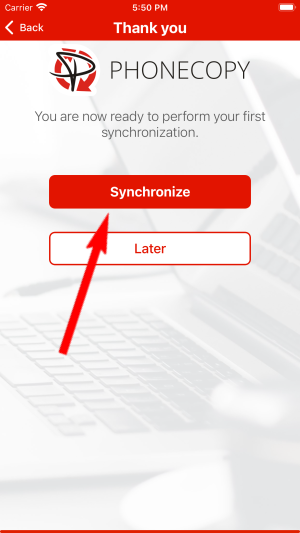
Let's synchronize!
Download PhoneCopy for Windows to your Windows PC, which you can download free of charge. After downloading and installation PhoneCopy icon will appear on your desktop.

Start the application and small PhoneCopy icon will appear on right bottom corner of your screen on status bar. When you will press this icon at first time you will be asked to fill your username and password. Any next icon click will start synchronization.

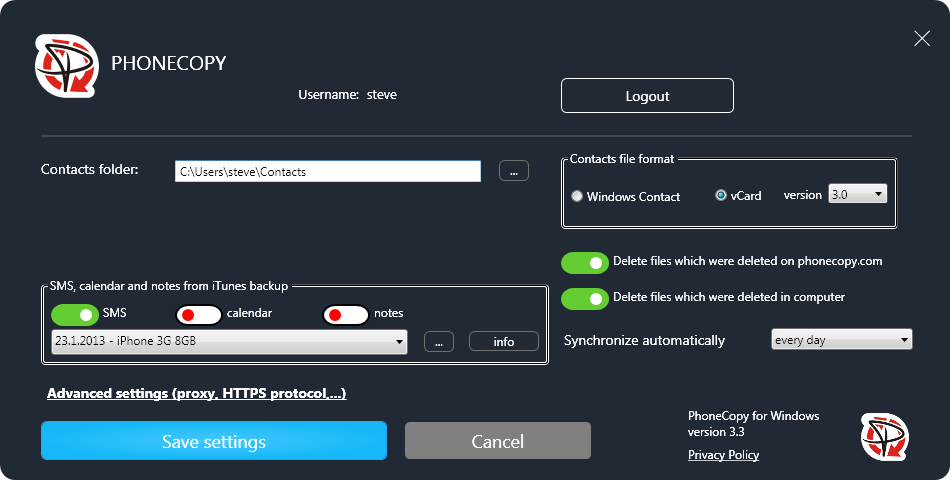
Start PhoneCopy for Windows. Fill your PhoneCopy username and password, then select the local directory where you stored your contacts, and choose VCARD format which will be used (we recommend to use 3.0 which is pre-selected - this is the right option when you are looking to import contacts from .vcf). Another option is to use native Windows Contacts format and synchronize directly from/to Contacts folder. Moreover, you can set your proxy on the same screen.
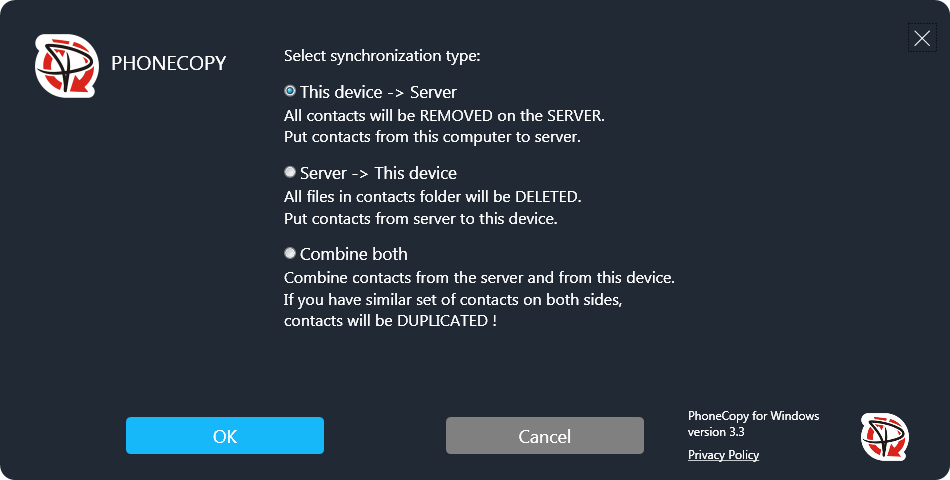
Now you can start the first synchronization on your Windows to transfer your contacts from/to PhoneCopy server. When synchronizing for the first time you can select synchronization direction. When you will add any VCARD contacts to selected directory you will see it synchronized to PhoneCopy after next sync. Status bar icon is animated during synchronization process.
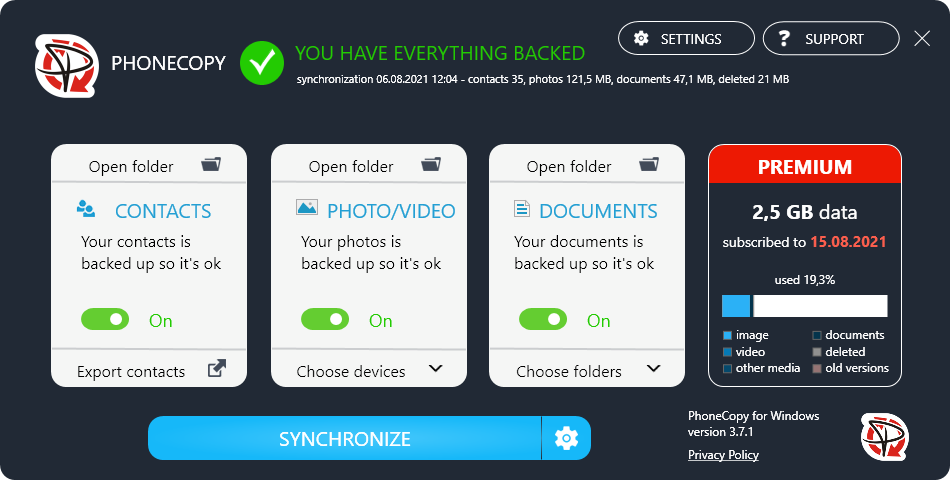
When synchronization finish you will get confirming message.
This guideline also works for similar devices like Microsoft Windows 2000, Microsoft Windows 2003, Microsoft Windows 2008, Microsoft Windows 7, Microsoft Windows 8.1, Microsoft Windows 98, Microsoft Windows ME, Microsoft Windows Vista, Microsoft Windows XP.
Now you can easily edit your contacts and other resources online in your PhoneCopy profile. You have access to your contact even if you forget your phone at home.
PhoneCopy keeps a detailed sync history for your account. If you accidentally delete a contact, you can recover it from an earlier backup without losing any other data.