

Would you like to transfer or synchronize data?
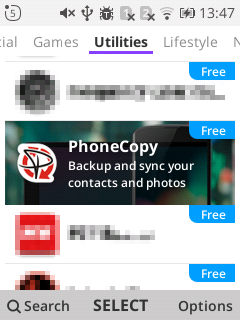
You can try FREE APPLICATION from online stores:


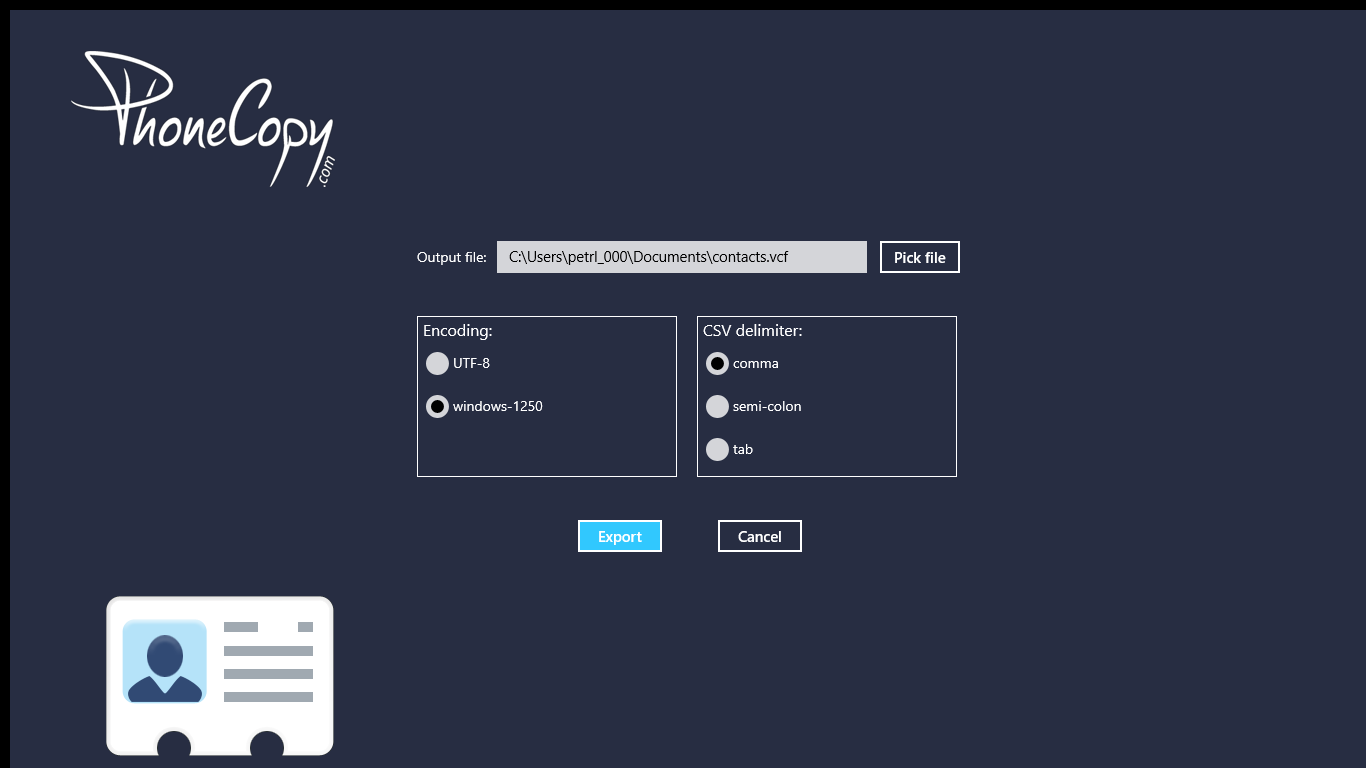
We used PhoneCopy.com service for this guideline. Using it, your can backup your contacts from your Jio JioPhone easily. The whole backup, including the settings, can be done in several minutes.
This guideline also works for similar devices like Jio JioPhone 2, Jio Jiophone F101K, Jio Jiophone F120B, Jio JioPhone F30C.
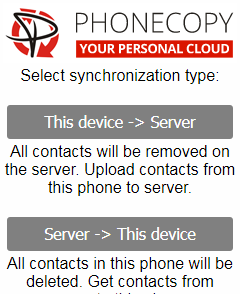
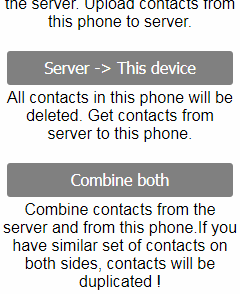
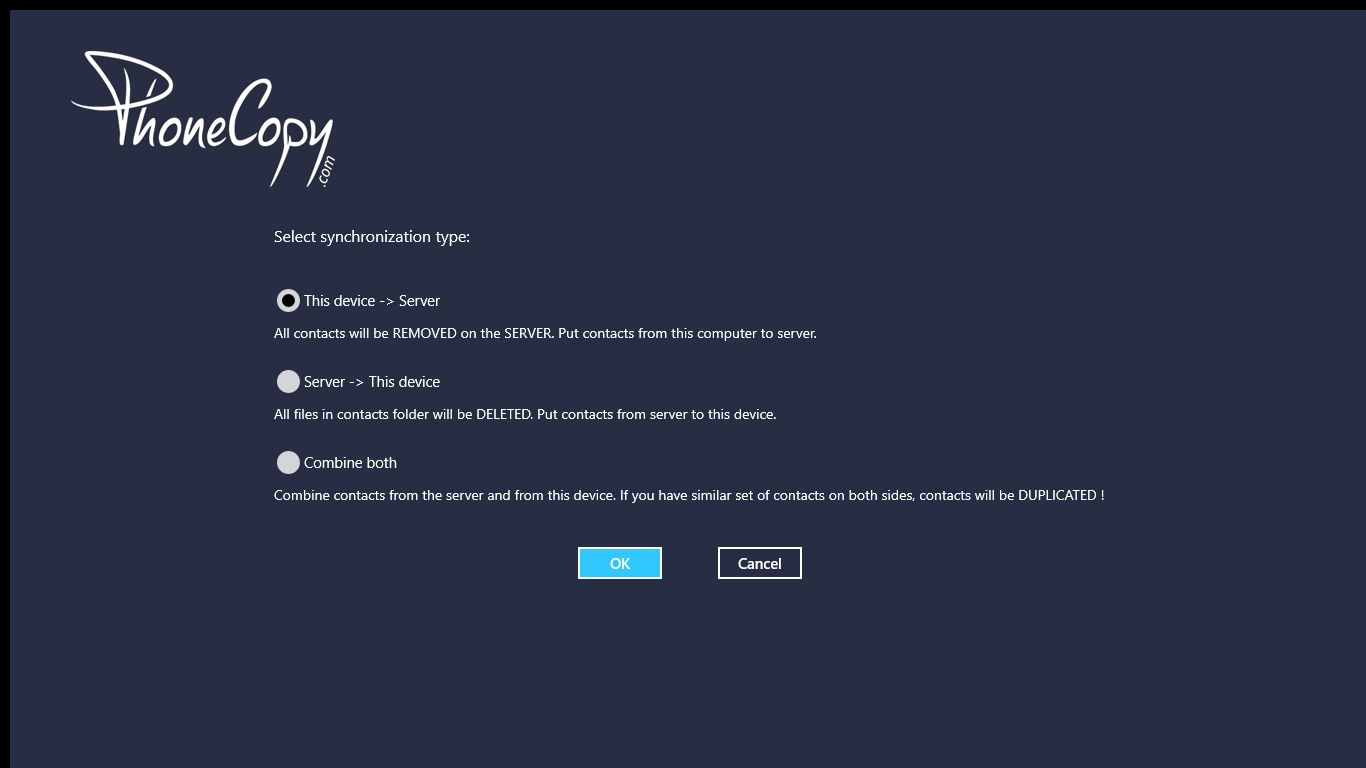
If you already have a PhoneCopy account, fill in your password. To export your contacts, press "Synchronize". Then select synchronization direction between three options: From your DEVICE to server, From SERVER to your device or Combine both. If you are not sure, use Combine both.
Select "contacts" and/or "photos" and press Synchronize. At the end of synchronization you will see status of synchronized items. In the Settings, you can set "auto sync daily".


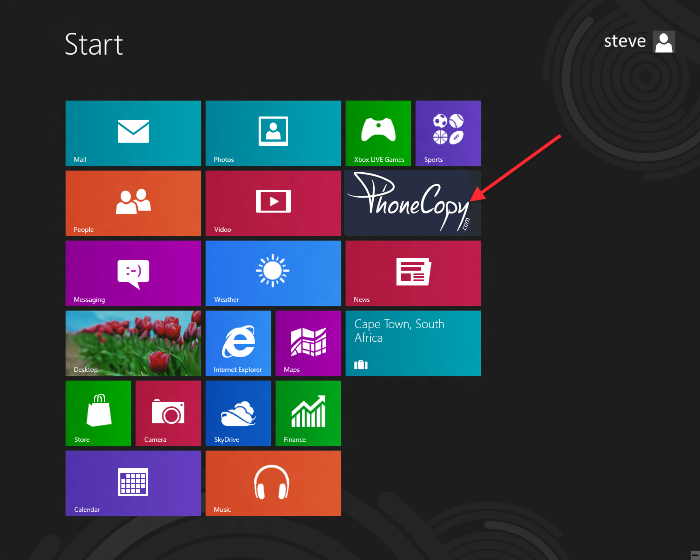
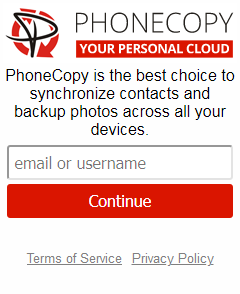
Open PhoneCopy application and read initial instructions.
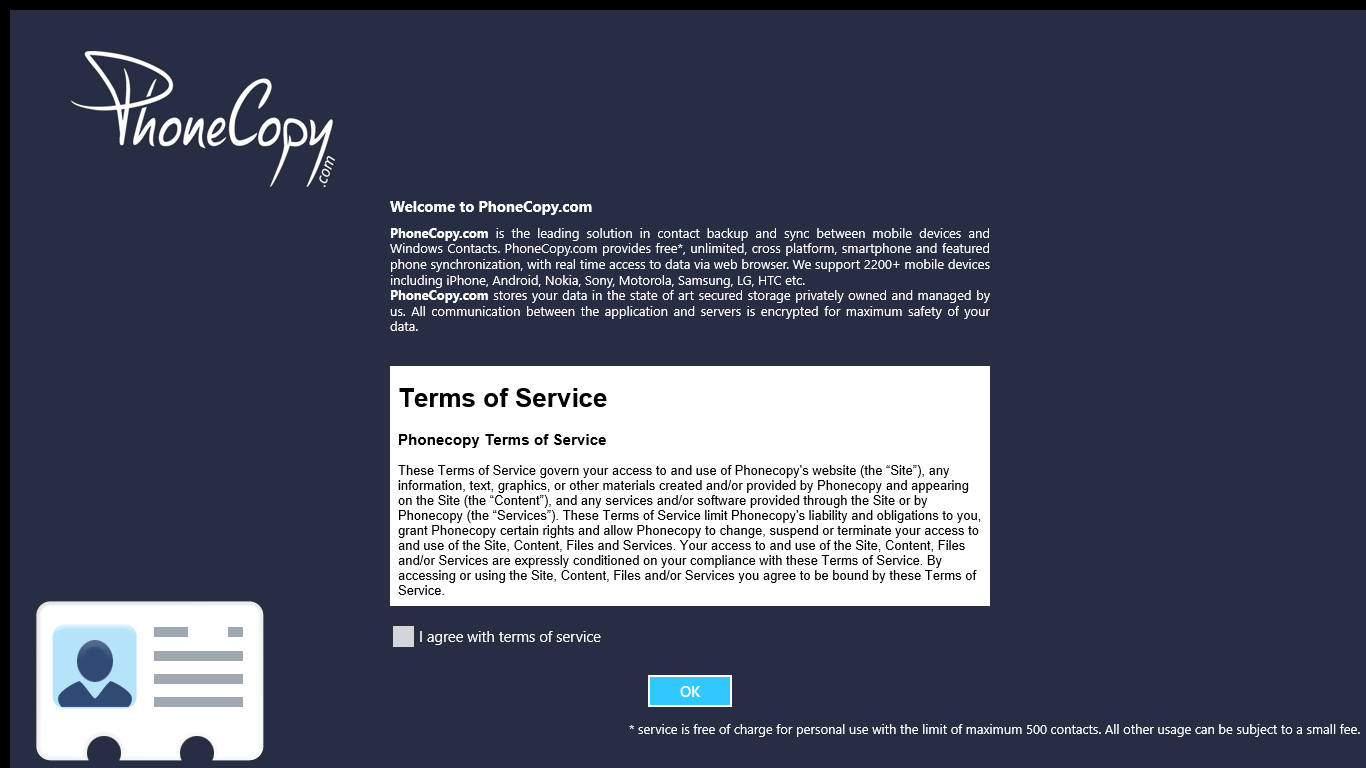
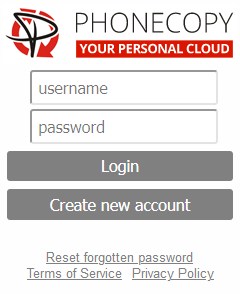
If you don't have an account on PhoneCopy.com, choose "Create new account". If you already have an account on PhoneCopy.com, choose "Use existing account".

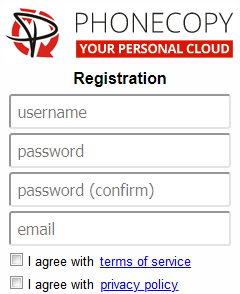
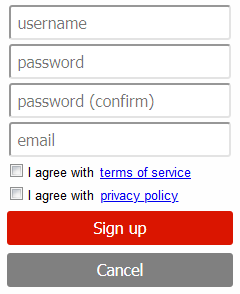
When you create new account, you will see registration for. Fill all boxes and click to "Sign up".

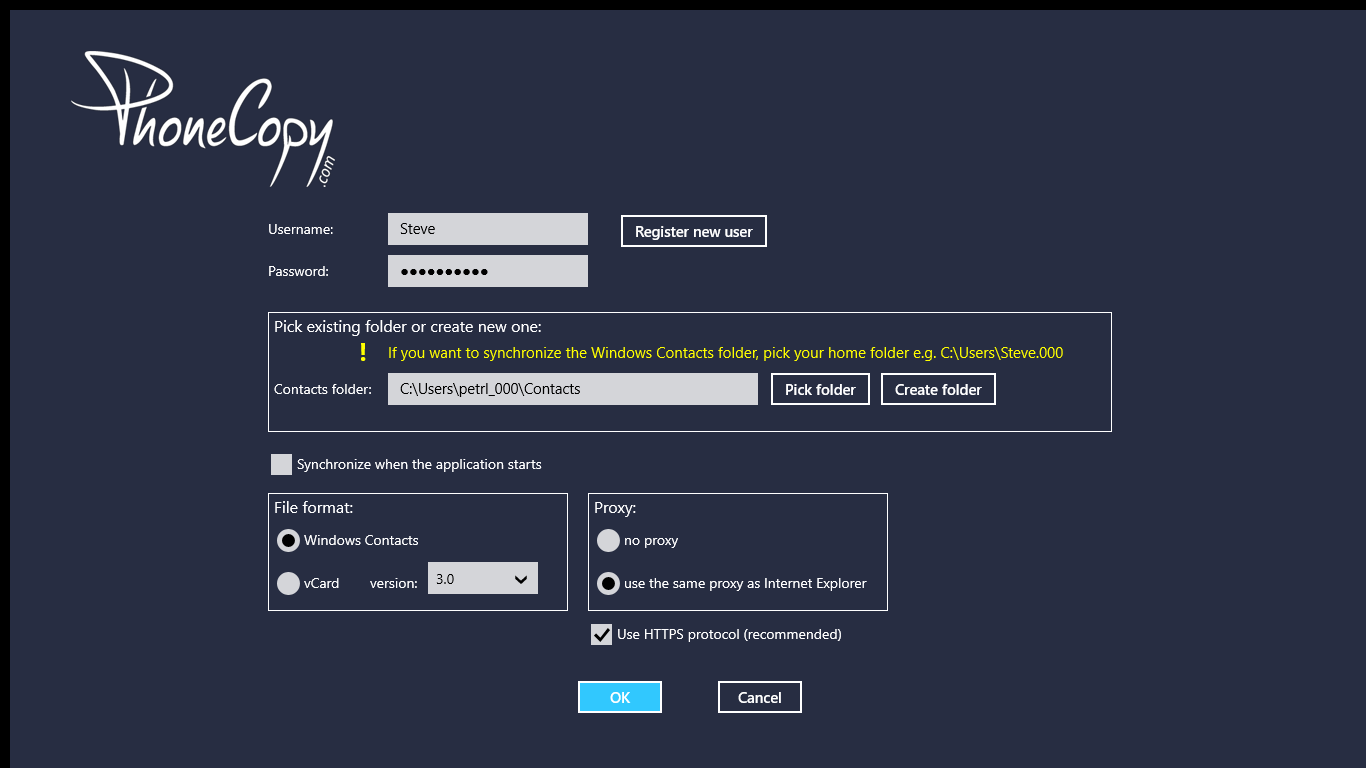
If you already have an account, fill your login credentials. "Pick folder" to select where will be your contacts stored.
On next page start synchronization by pressing "Synchronize" button.

When you will add any contacts to selected directory you will see it synchronized to PhoneCopy after next sync.

You can see page with information about your synchronization.
This guideline also works for similar devices like DELL Latitude 10, DELL Latitude 2100, DELL XPS 10.
Now you can easily edit your contacts and other resources online in your PhoneCopy profile. You have access to your contact even if you forget your phone at home.
You can easily remove duplicate items among your contact list or SMS messages. Just go to the Contacts (or SMS) section and choose More Actions -> Search for duplicates. Detailed wizard will help you to solve this kind of problem easily.