
Would you like to transfer or synchronize data?
You can try FREE APPLICATION from online stores:



In our guideline we will introduce PhoneCopy.com service which supports many phones from almost all manufacturers, including Motorola Moto G82 5G, and can be easily used to synchronize data between two or more devices.
This guideline also works for similar devices like Motorola Edge 30 Neo, Motorola Moto E30, Motorola Moto E32, Motorola Moto G Stylus 5G (2022), Motorola Moto G31, Motorola Moto G32, Motorola Moto G62 5G.
Download PhoneCopy for Huawei from Huawei AppGallery to your Huawei phone, which you can download free of charge. After downloading and installation, go through the following steps.
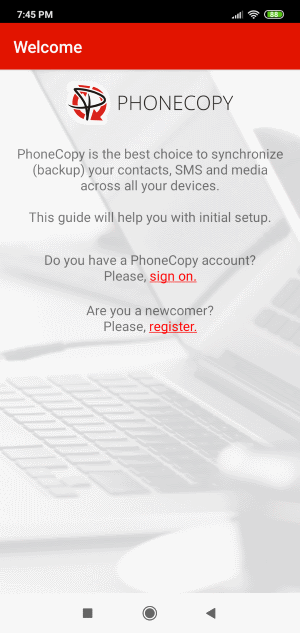
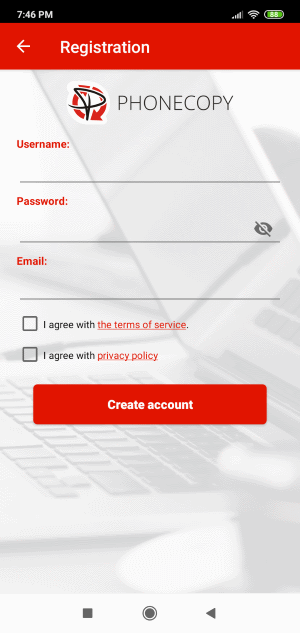
Run the app and create new account. If you already have an account choose "sign on".
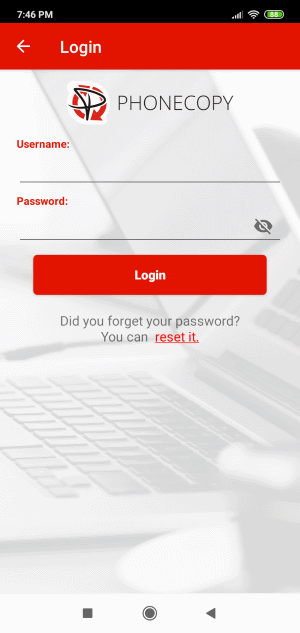
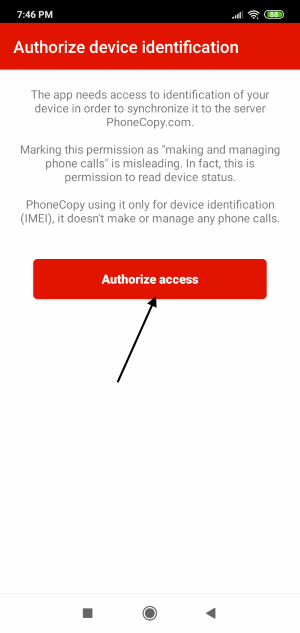
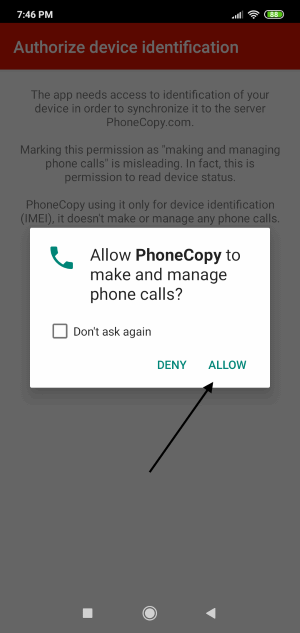
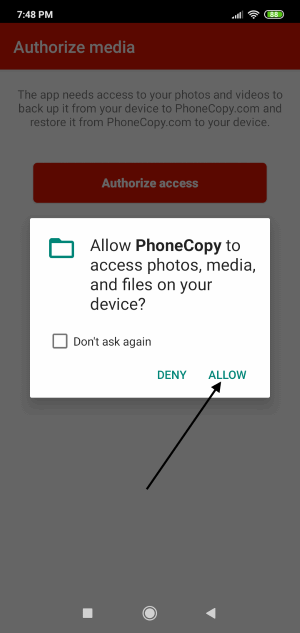
To allow correct functionality of PhoneCopy application we will kindly ask you to confirm access permissions for it.
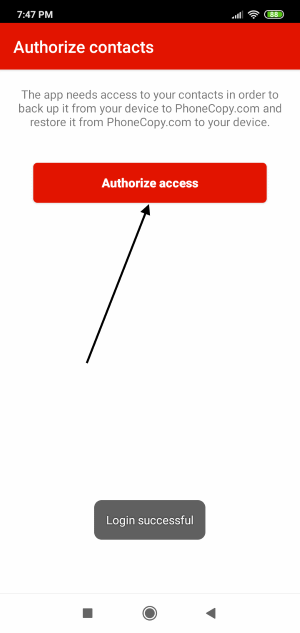
When you confirm access to contacts you can set which "contacts databases" you want to backup.
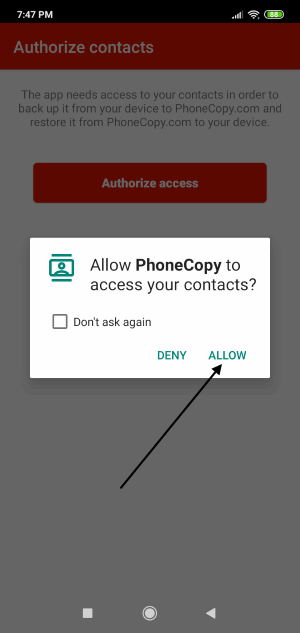
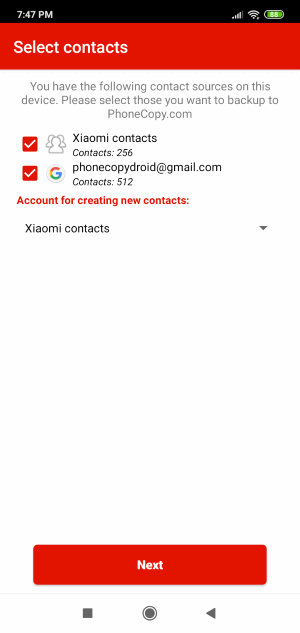
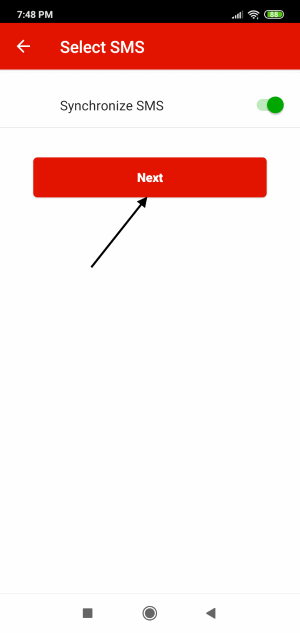
PhoneCopy allows to back up SMS too.
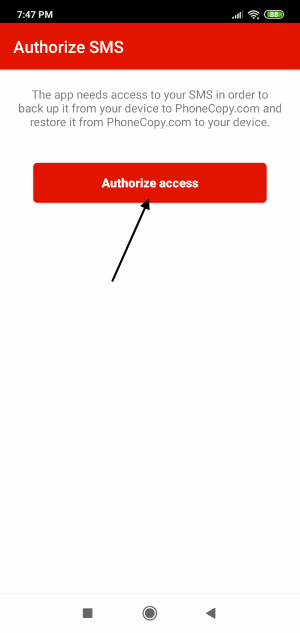
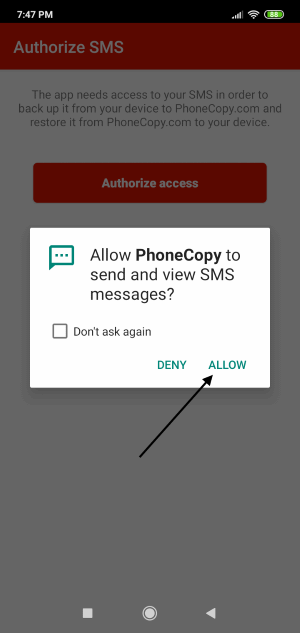
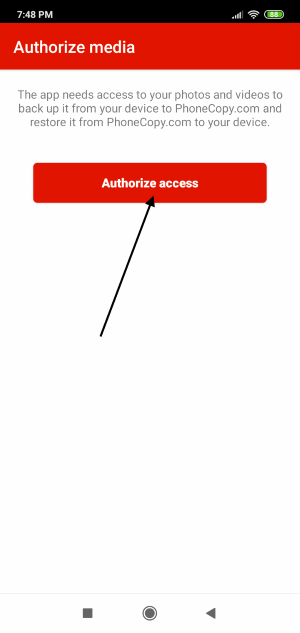
Then you can set up backup for media (photos and videos).
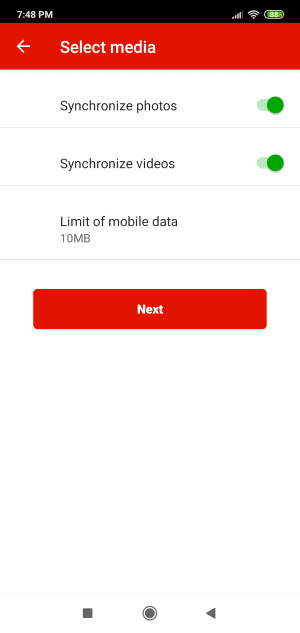
If you want download photos and videos from old phone (which was synchronized to PhoneCopy.com before) you can choose it in the next step. Then you can synchronize.
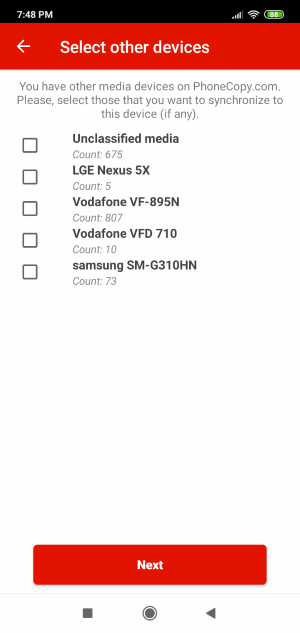
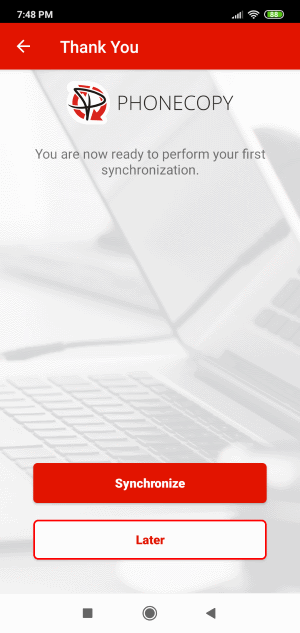
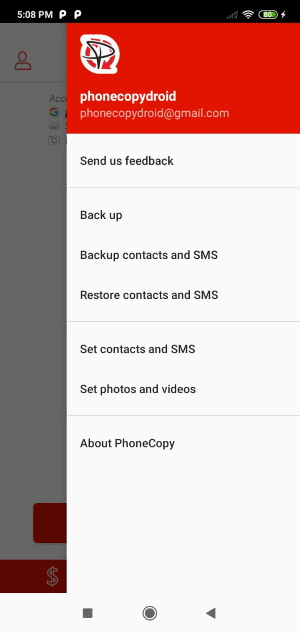
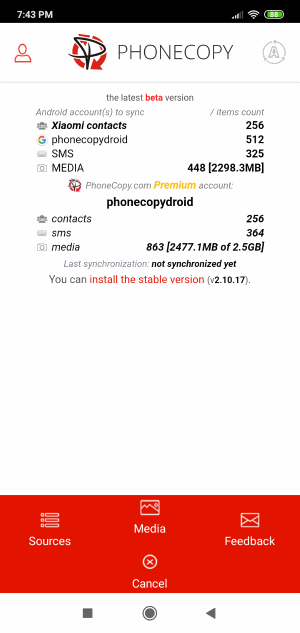
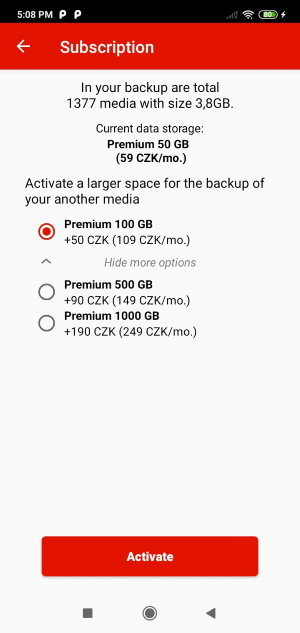
You can access all settings later by bottom menu of the application or by main menu. In case you exceed limits for a free account we recommend you to buy Premium
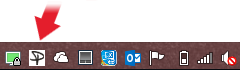
Download PhoneCopy for Windows to your Windows PC, which you can download free of charge. After downloading and installation PhoneCopy icon will appear on your desktop.

Start the application and small PhoneCopy icon will appear on right bottom corner of your screen on status bar. When you will press this icon at first time you will be asked to fill your username and password. Any next icon click will start synchronization.
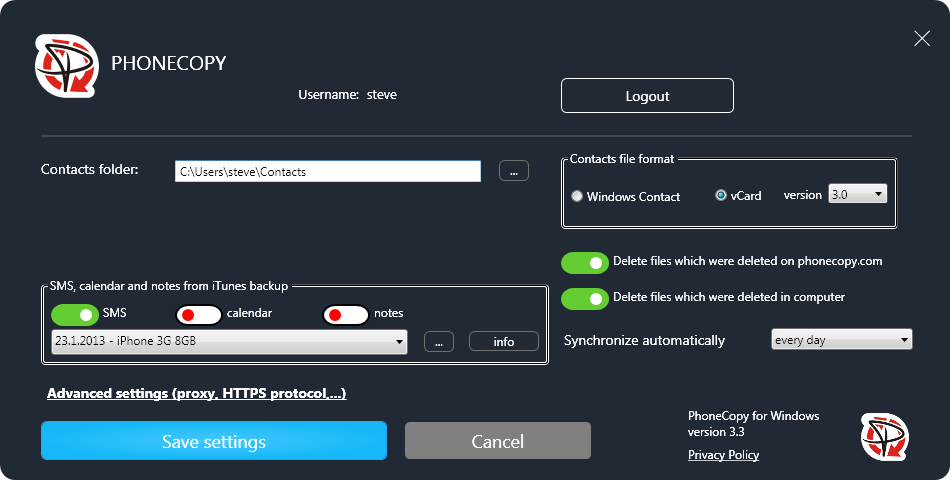
Start PhoneCopy for Windows. Fill your PhoneCopy username and password, then select the local directory where you stored your contacts, and choose VCARD format which will be used (we recommend to use 3.0 which is pre-selected - this is the right option when you are looking to import contacts from .vcf). Another option is to use native Windows Contacts format and synchronize directly from/to Contacts folder. Moreover, you can set your proxy on the same screen.
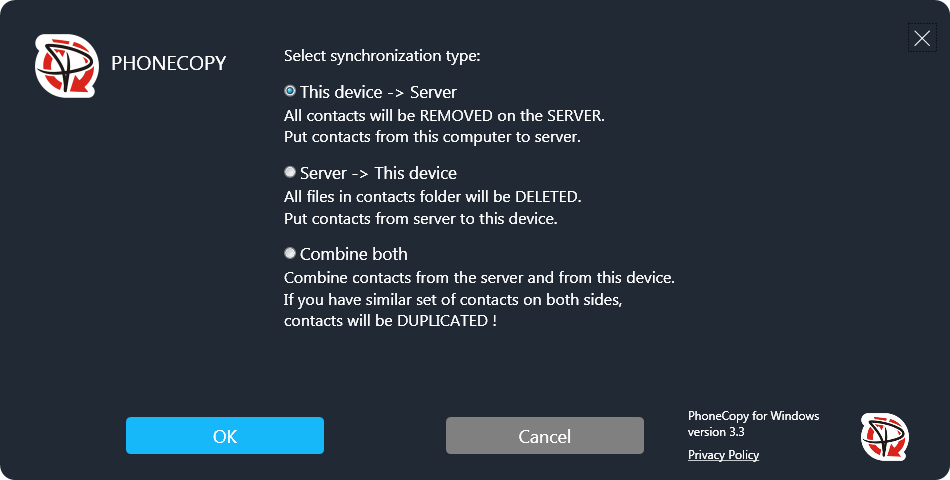
Now you can start the first synchronization on your Windows to transfer your contacts from/to PhoneCopy server. When synchronizing for the first time you can select synchronization direction. When you will add any VCARD contacts to selected directory you will see it synchronized to PhoneCopy after next sync. Status bar icon is animated during synchronization process.
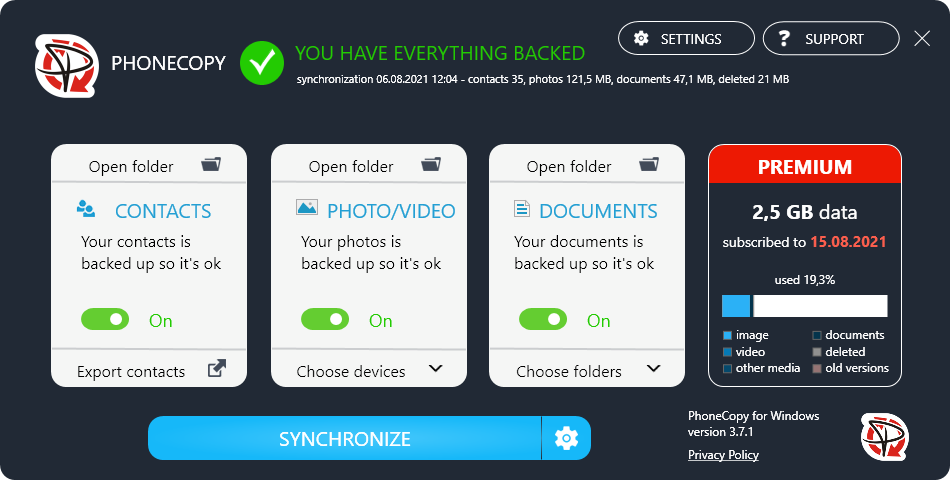
When synchronization finish you will get confirming message.
This guideline also works for similar devices like Microsoft Windows 2000, Microsoft Windows 2003, Microsoft Windows 2008, Microsoft Windows 7, Microsoft Windows 8.1, Microsoft Windows 98, Microsoft Windows ME, Microsoft Windows Vista, Microsoft Windows XP.
Your backup is now complete. Visit the PhoneCopy website to confirm that all your contacts were transferred correctly and to explore the other features your account offers.
You can set PhoneCopy to sync automatically at regular intervals, so your backup always stays up to date without you having to remember to do it manually.