Would you like to transfer or synchronize data?
You can try FREE APPLICATION from online stores:


In our guideline we will introduce PhoneCopy.com service which supports many phones from almost all manufacturers, including Nokia 3110 classic, and can be easily used to synchronize data between two or more devices.
This guideline also works for similar devices like Nokia 3109, Nokia 3110 Evolve, Nokia 3500, Nokia 6086, Nokia 6300, Nokia 7373, Nokia 7390.
Phonecopy client registration is simple. Choose your username and insert your email address, where we will send you a confirmation email that you will need to activate your account.
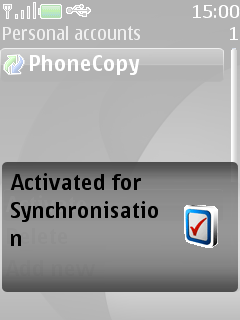
To have your contacts saved you have to synchronize the Nokia with PhoneCopy. First step is to set up the synchronization on the Nokia. For better illustration, we've made some screenshots, but experienced users naturally won't need and will be able to set up the phone on their own, or following the device manual on PhoneCopy website. But back to the screenshots now: create a new synchronization profile in the menu:


Start the synchronization now. You can select the data to be synchronized before starting. If you are transferring only contact, choose to transfer contacts only. However if you want to use PhoneCopy as a backup platform and you have made the corresponding settings, choose Calendar, Tasks and Notes as well.
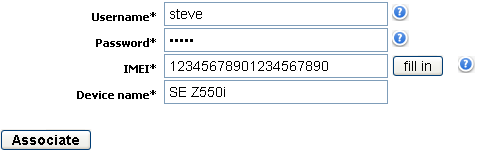
After your phone is synchronized, go back to your PhoneCopy online profile (probably you will have it still open in the browser since you activated your account) and accept the assignment of your phone to the account. If you do it within the hour after the synchronization, the phone will be assigned automatically and you will only need to confirm the process. If the delay is greater than one hour, you will be asked by the server for the cellphone's identification number, called IMEI. This number can be easily found under the battery of the cellphone, or you can type in the symbols *#06# and the IMEI will appear on the display.
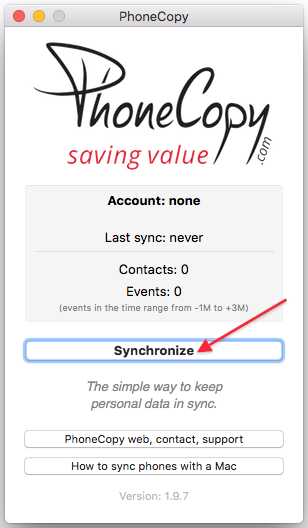
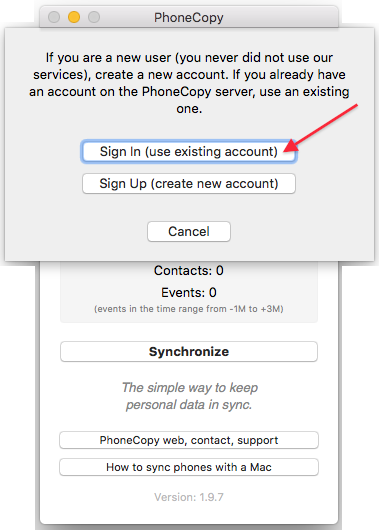
Download PhoneCopy for Mac to your Mac, which you can download free of charge. After downloading and installation press Synchronize and select Sign In (use existing account).
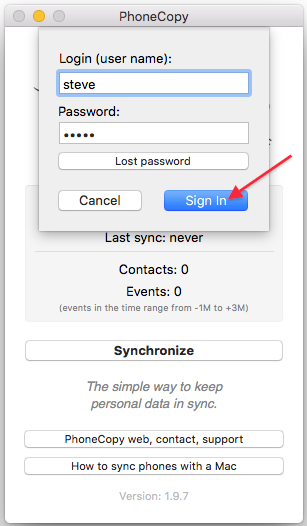
Fill in your username and password. Press Synchronize".
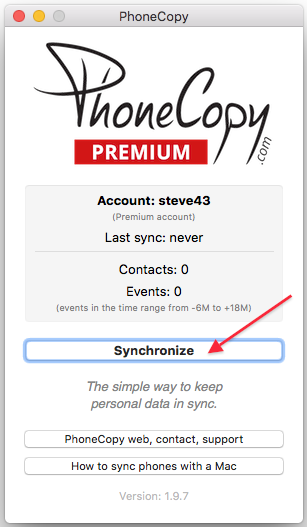
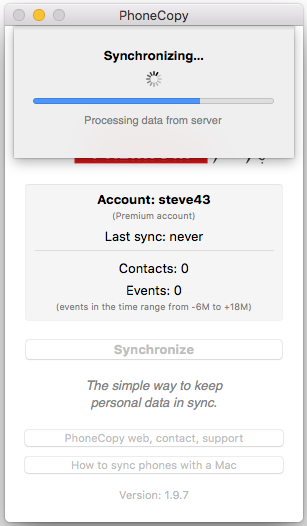
Select synchronization direction. Press Server -> this device.

Contacts from PhoneCopy.com server will be copied to your device in few seconds.
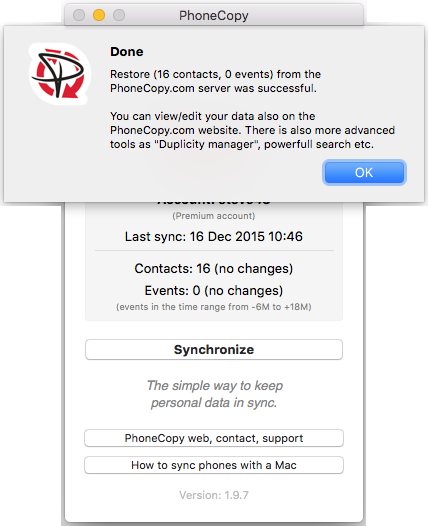
Now you have all your contacts backed up on PhoneCopy and you can edit all your contacts in your online account. If you lose your phone or the stored data, or if you just run out of battery, you can see your contacts online.
Contacts can be then transferred to another device (eq. iPhone, Nokia, SonyEricsson, Samsung, LG etc). See PhoneCopy site for supported devices.