Would you like to transfer or synchronize data?
You can try FREE APPLICATION from online stores:


In our guideline we will introduce PhoneCopy.com service which supports many phones from almost all manufacturers, including Nokia 6110 Navigator, and can be easily used to synchronize data between two or more devices.
This guideline also works for similar devices like Nokia 5700 XpressMusic, Nokia E51, Nokia E63, Nokia E66, Nokia E71, Nokia N75, Nokia N81.
Phonecopy registration is simple. Choose your username and insert your email address, where we will send you a confirmation email that you will need to activate your account.
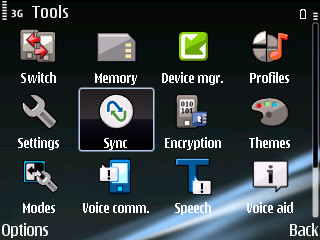
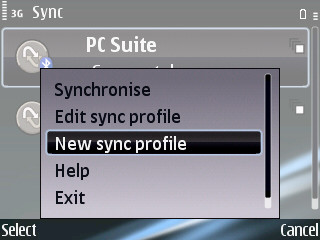
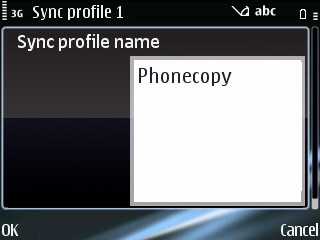
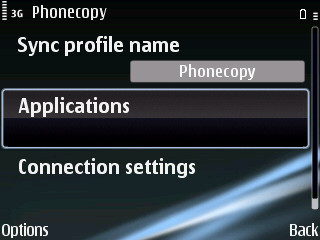
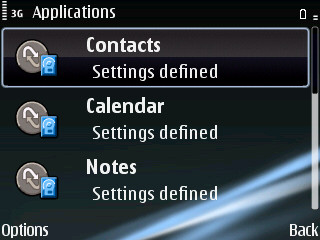
To have your contacts saved you have to synchronize the Nokia with PhoneCopy. First step is to set up the synchronization on the Nokia. For better illustration, we've made some screenshots, but experienced users naturally won't need and will be able to set up the phone on their own, or following the device manual on PhoneCopy website. But back to the screenshots now: create a new synchronization profile in the menu:

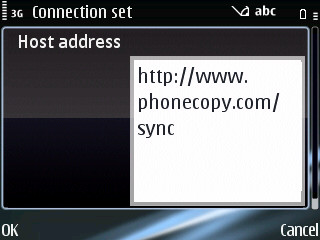
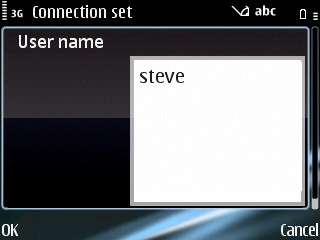
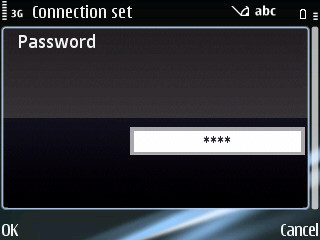
Follow the instructions to set up the connection. If you're only saving contacts, you can leave out some of the steps, or you can backup you calendar, tasks and notes as well.


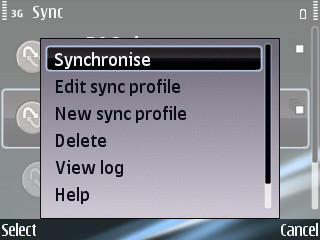
Start the synchronization now. You can select the data to be synchronized before starting. If you are transferring only contact, choose to transfer contacts only. However if you want to use PhoneCopy as a backup platform and you have made the corresponding settings, choose Calendar, Tasks and Notes as well.
After your phone is synchronized, go back to your PhoneCopy online profile (probably you will have it still open in the browser since you activated your account) and accept the assignment of your phone to the account. If you do it within the hour after the synchronization, the phone will be assigned automatically and you will only need to confirm the process. If the delay is greater than one hour, you will be asked by the server for the cellphone's identification number, called IMEI. This number can be easily found under the battery of the cellphone, or you can type in the symbols *#06# and the IMEI will appear on the display.
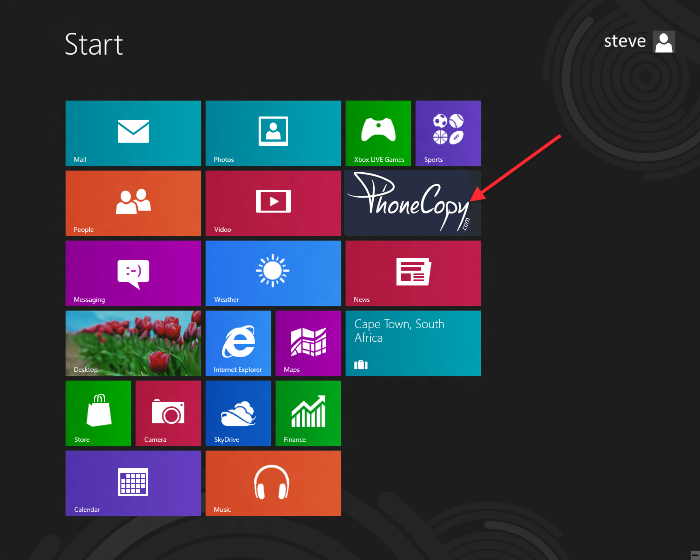
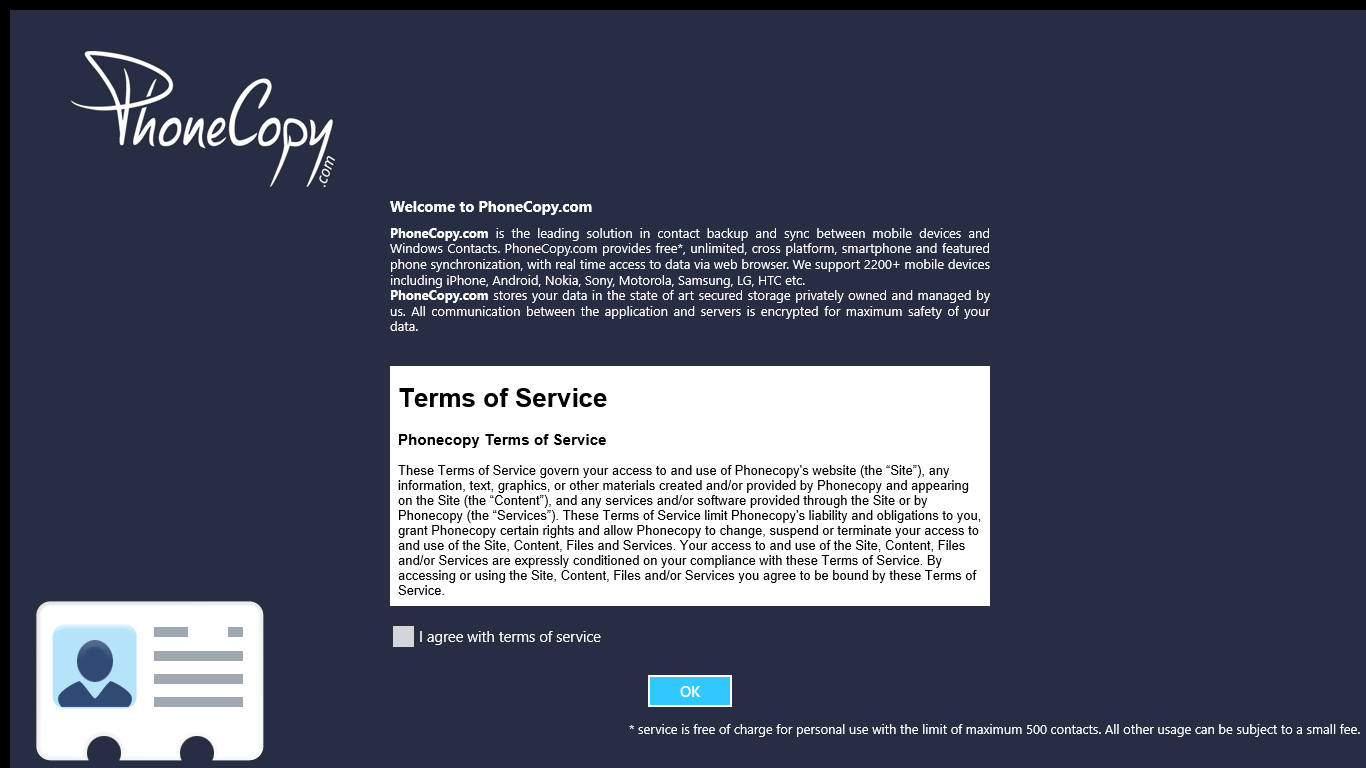
Open PhoneCopy application and read initial instructions.
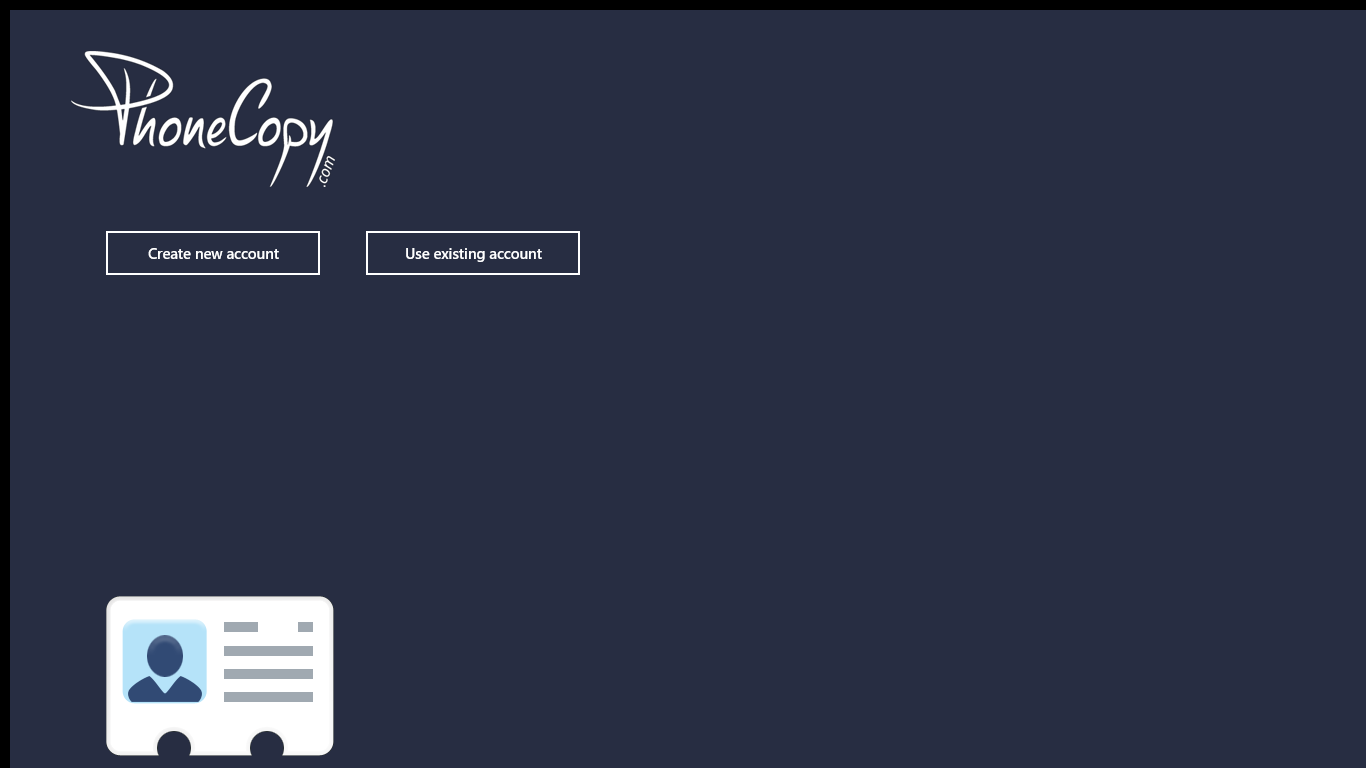
If you don't have an account on PhoneCopy.com, choose "Create new account". If you already have an account on PhoneCopy.com, choose "Use existing account".
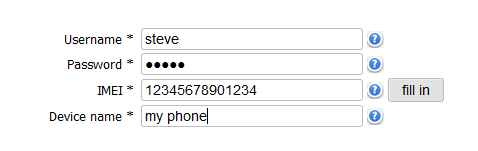
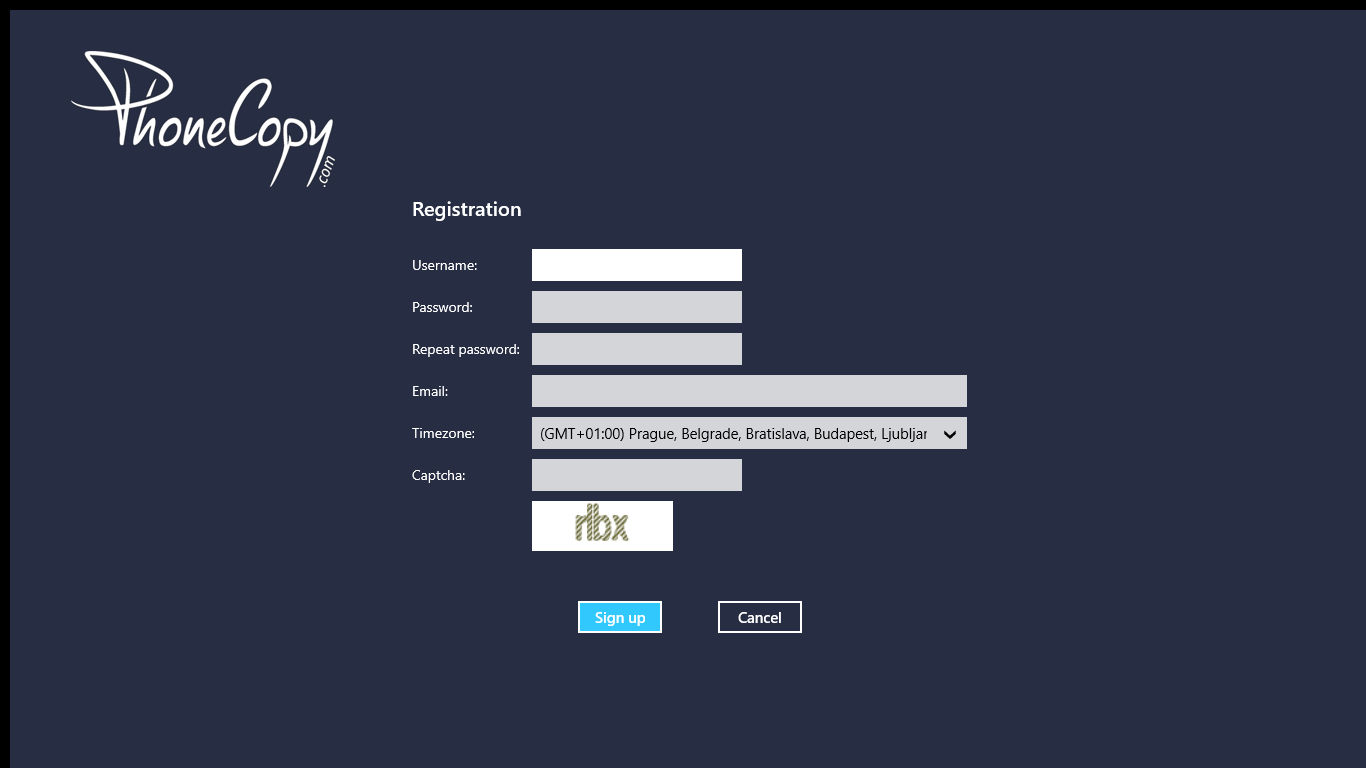
When you create new account, you will see registration for. Fill all boxes and click to "Sign up".
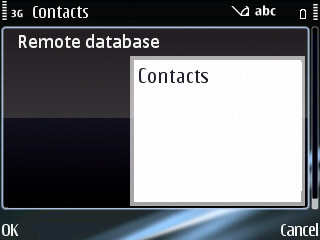
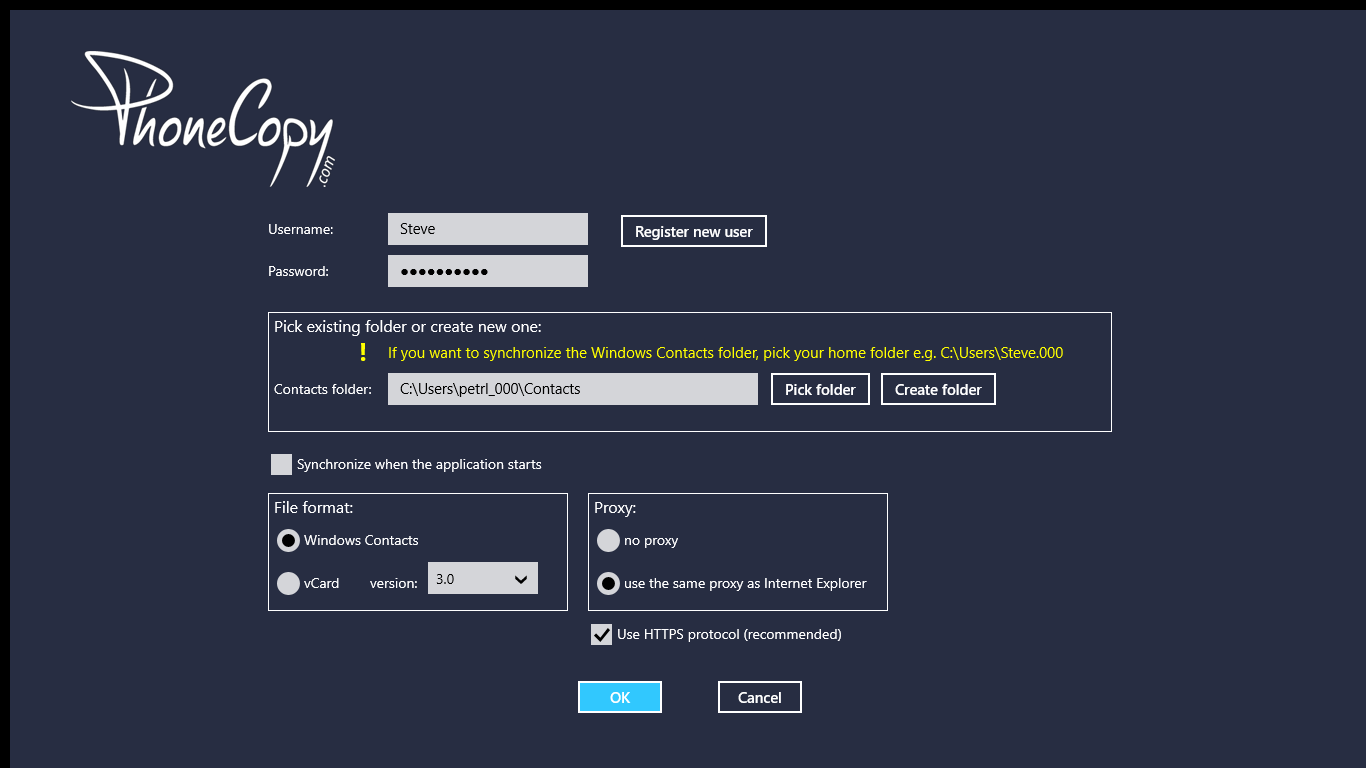
If you already have an account, fill your login credentials. "Pick folder" to select where will be your contacts stored.
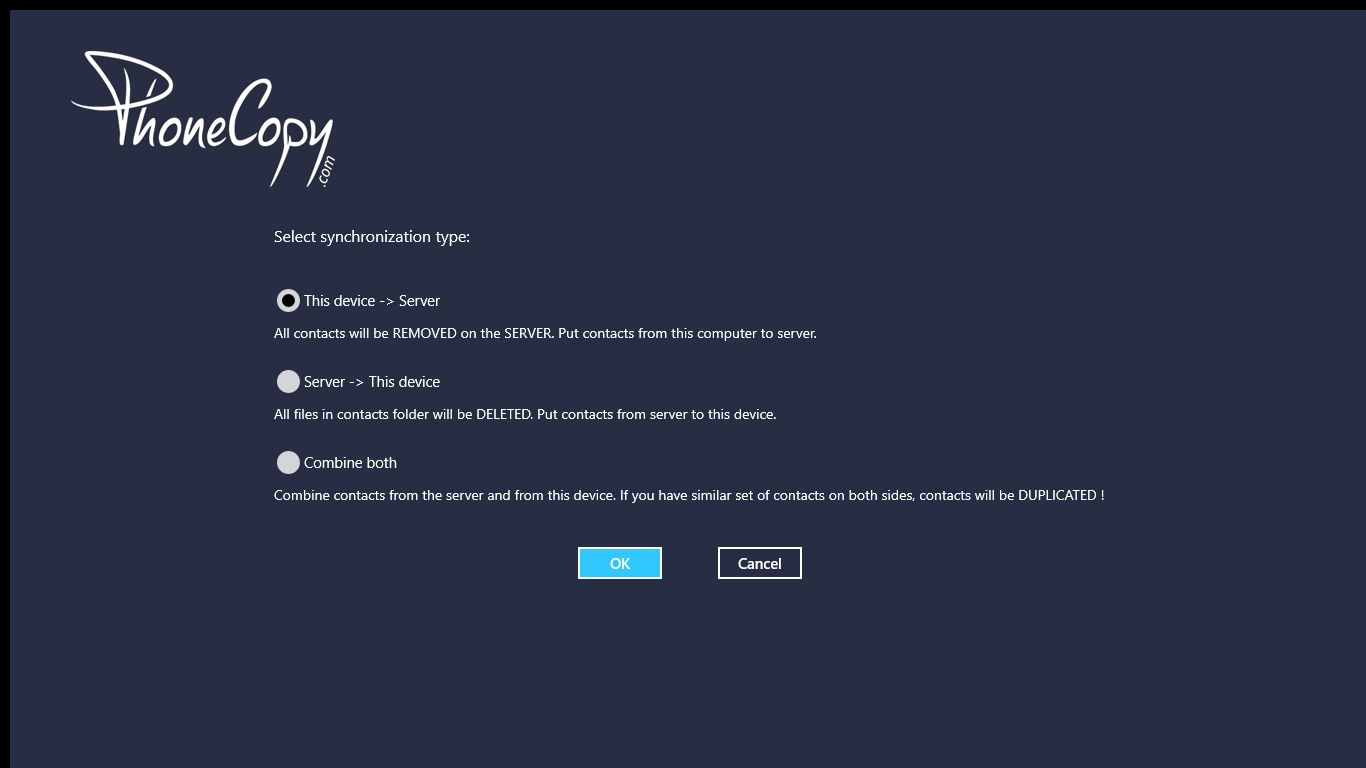
On next page start synchronization by pressing "Synchronize" button.
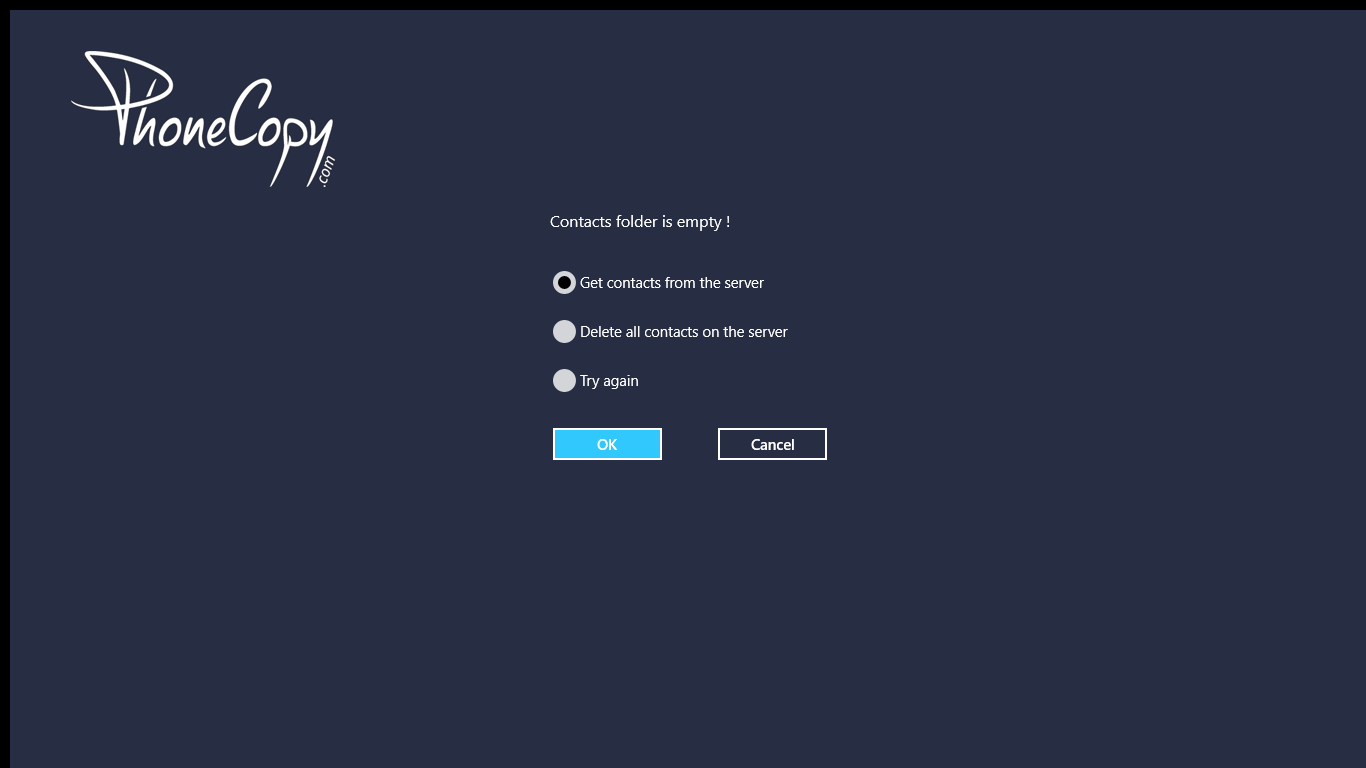
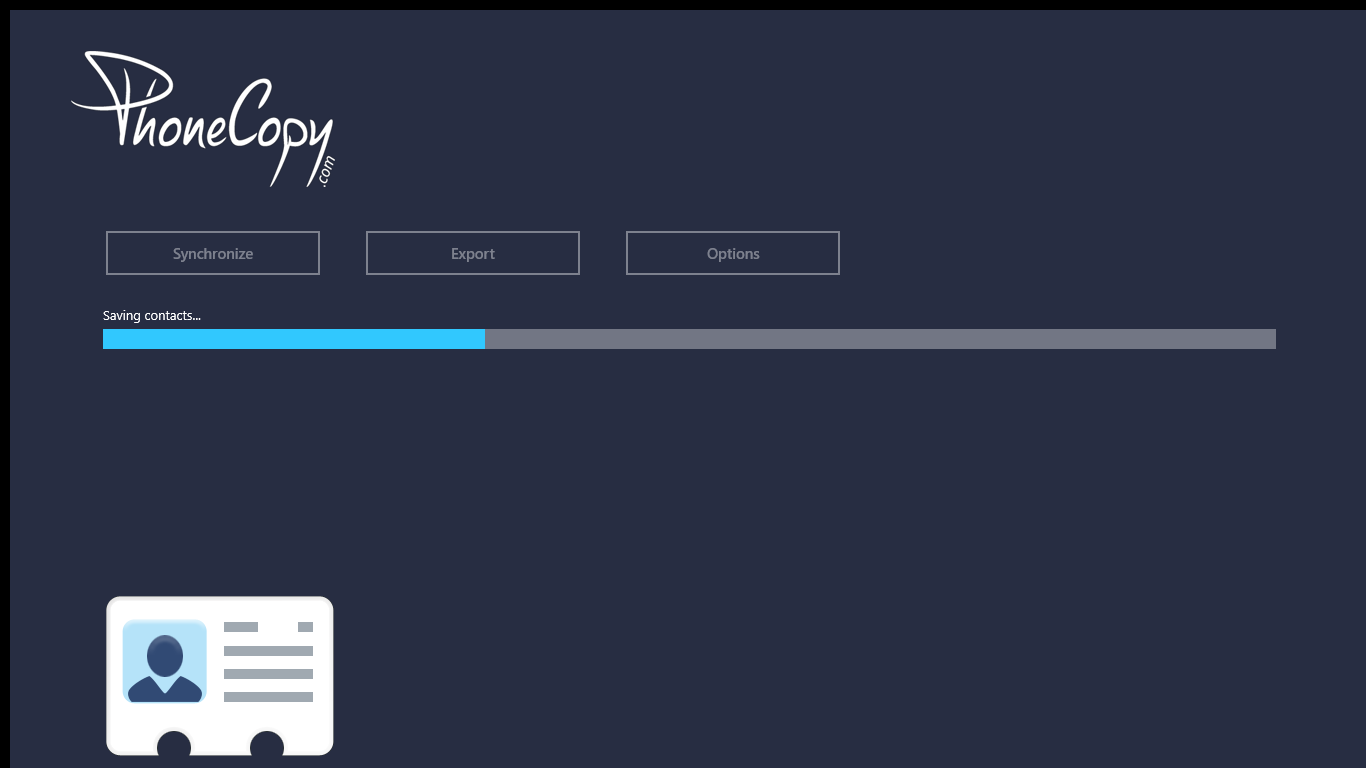
When you will add any contacts to selected directory you will see it synchronized to PhoneCopy after next sync.
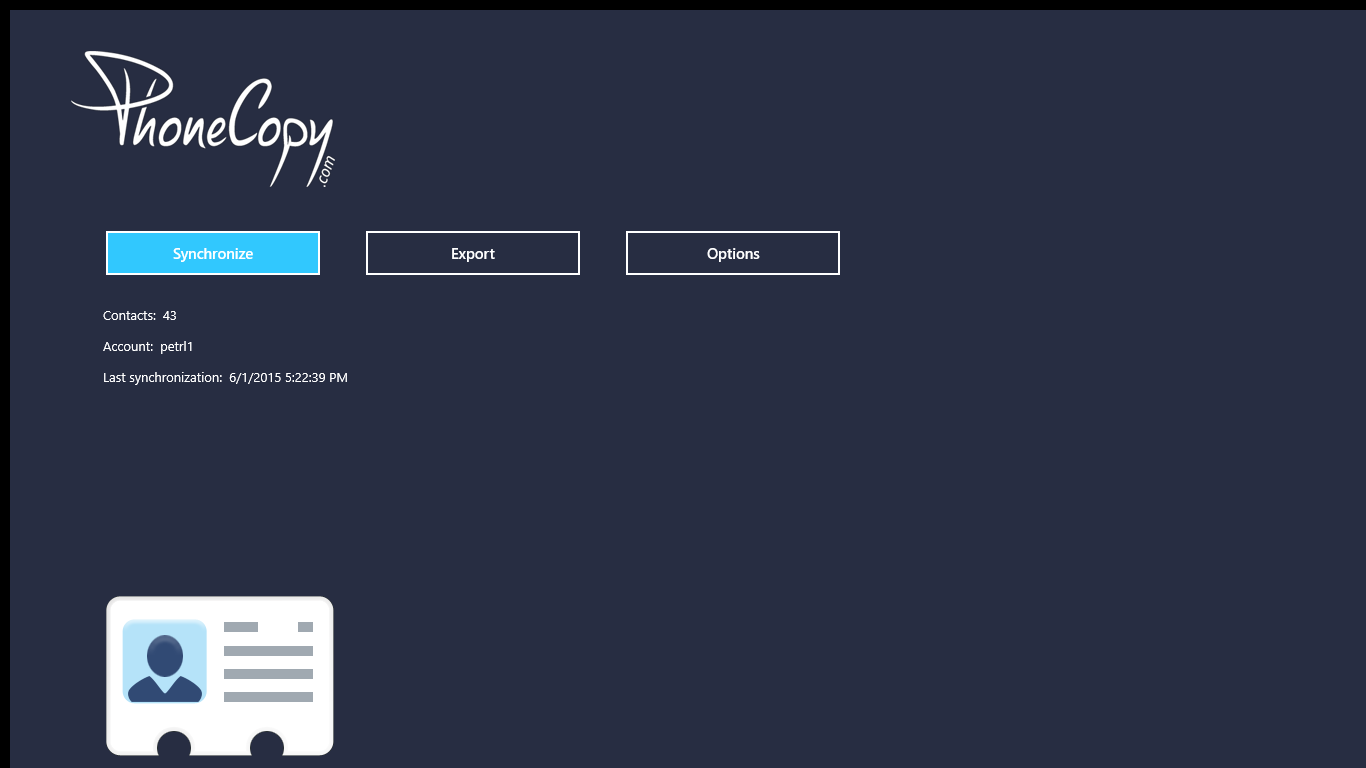
You can see page with information about your synchronization.
This guideline also works for similar devices like DELL Latitude 10, DELL Latitude 2100, DELL XPS 10.
Once everything is done, check your data on the web. Login to PhoneCopy webpage and you will see brief review of all data transferred from your device. With another mouse click, you can review the change of each particular item.
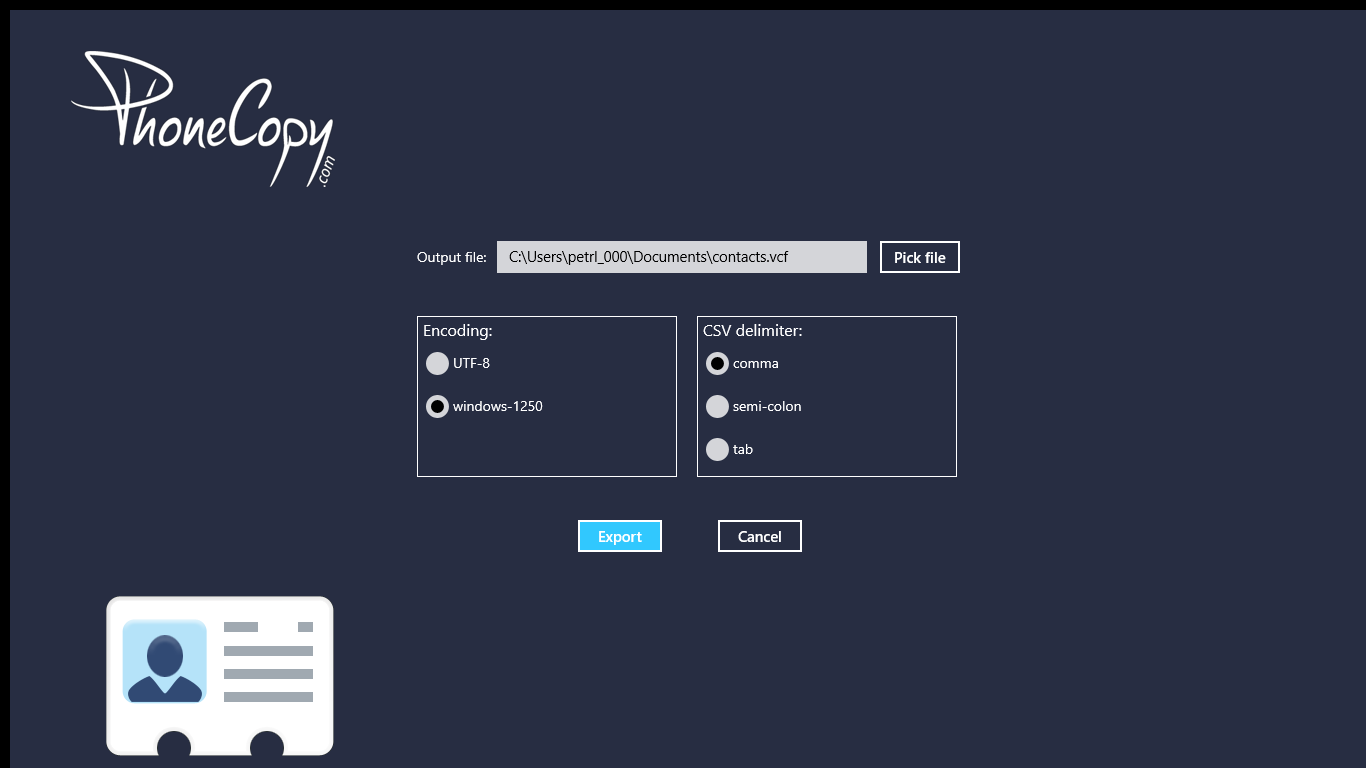
On your online account, you will see full history of your contacts, as well as the data that you've deleted in between the synchronizations. You can find them in an archive from where you can restore them. And if this is still not enough of a backup for you, you can download a CSV file, that you can store in your computer.