
Would you like to transfer or synchronize data?
You can try FREE APPLICATION from online stores:


PhoneCopy.com makes it simple to back up your contacts from Samsung Galaxy S3 (SCL21) to the cloud. In this guide, we will walk you through the entire process step by step.
This guideline also works for similar devices like Samsung Galaxy Core (gt-i8580), Samsung Galaxy Core Plus Duos (SM-G3502l), Samsung Galaxy Fame Lite Duos S6792, Samsung Galaxy Grand Neo (gt-i9168i), Samsung Galaxy Trend 2 (gt-s7898i) , Samsung Galaxy Trend Plus (GT-S7583), Samsung Galaxy Young Plus (gt-s6293t).
Download PhoneCopy for Android to your Android phone, which you can download free of charge. After downloading and installation, go through following steps.
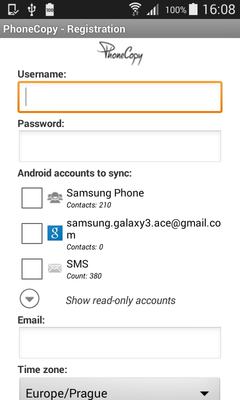
Run the app and create new account. You can check which contact databases you want to backup and synchronize. You can do multiple choice.
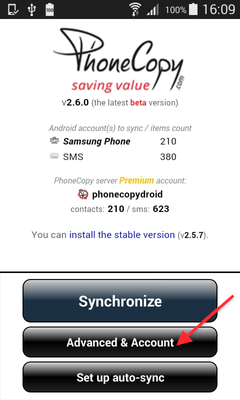
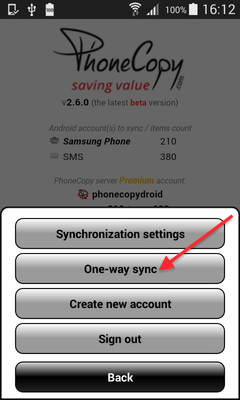
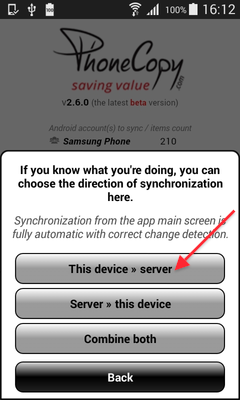
After successful login, press "Advanced & Account". Select "One-way sync" and after choose "This device >> server".
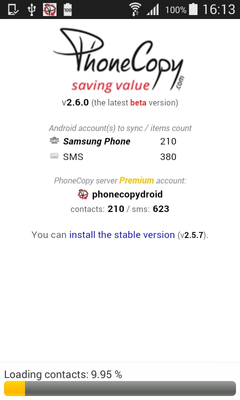
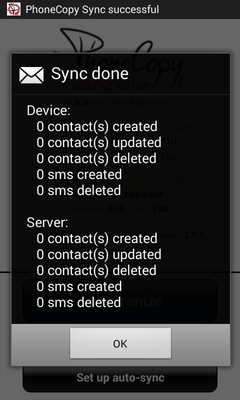
Contacts from your Android phone will be copied to PhoneCopy.com server in few seconds.
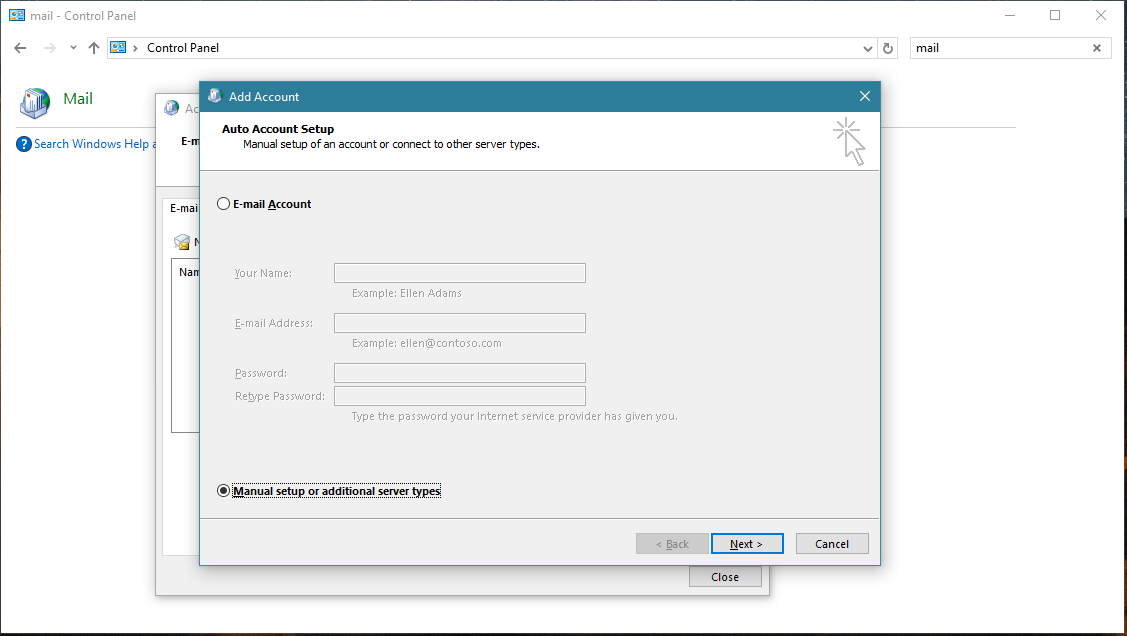
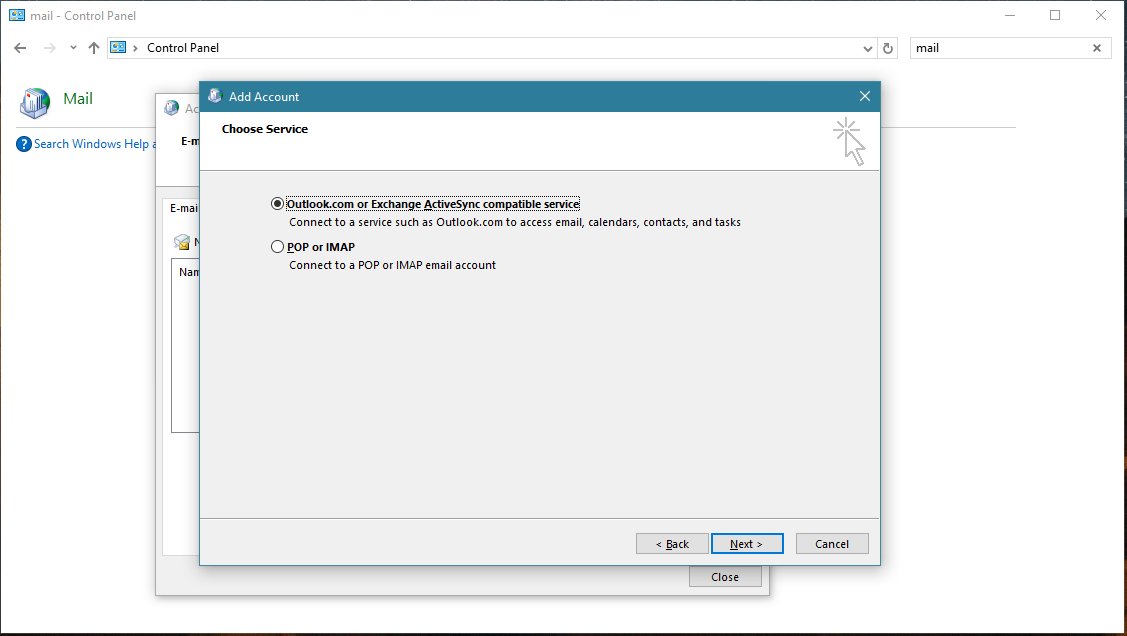
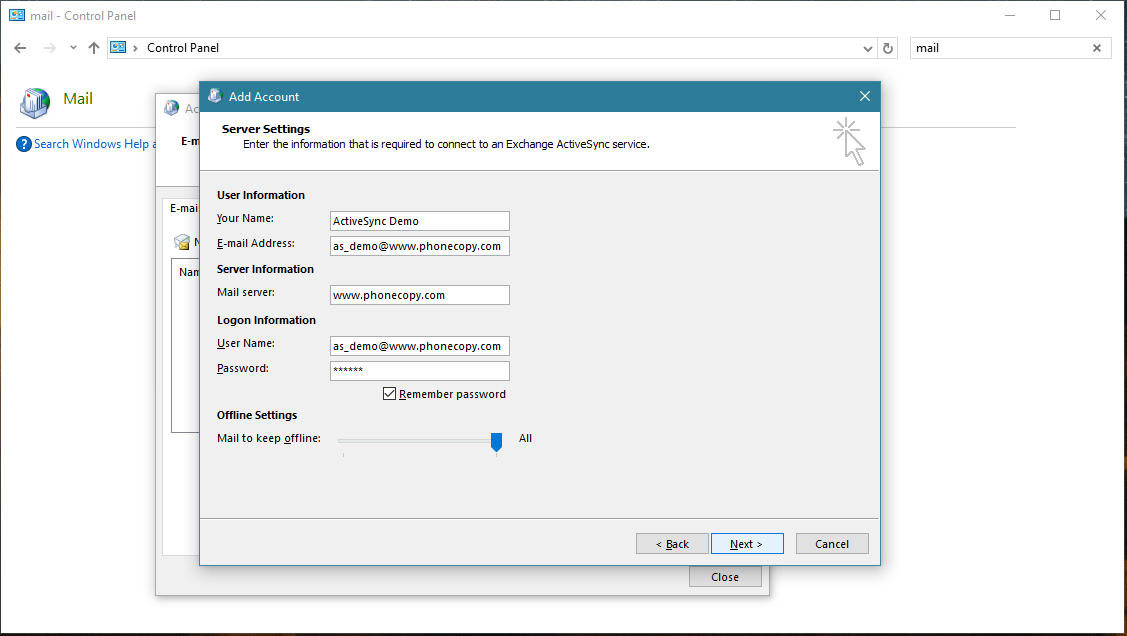
Certain Outlook version do not offer similar functionality directly from the app so our guide will use Windows Control Panel widget. Depending on the Outlook version, the texts on the following screens may differ. Always aim towards setting up an email account via Exchange ActiveSync using custom settings.
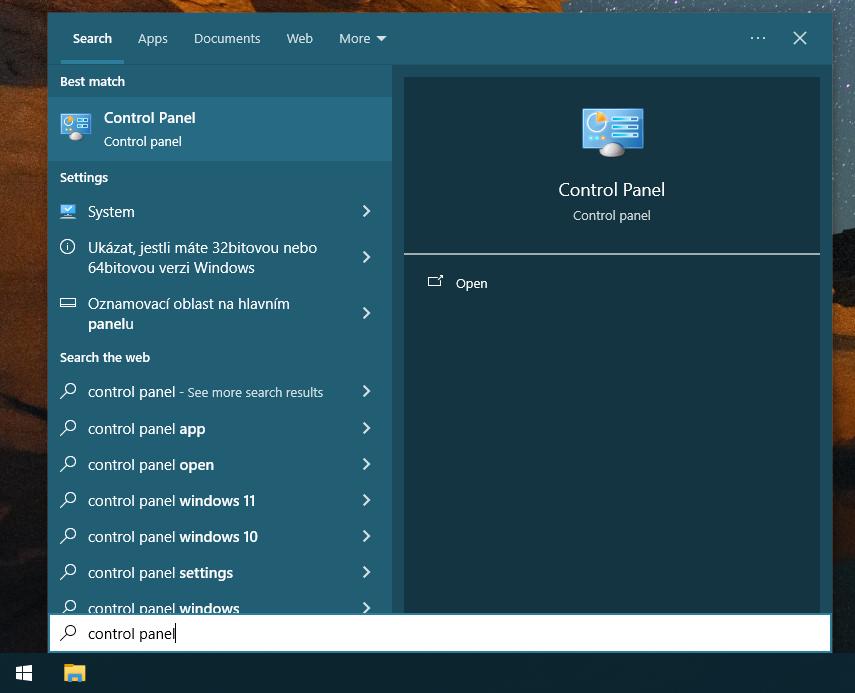
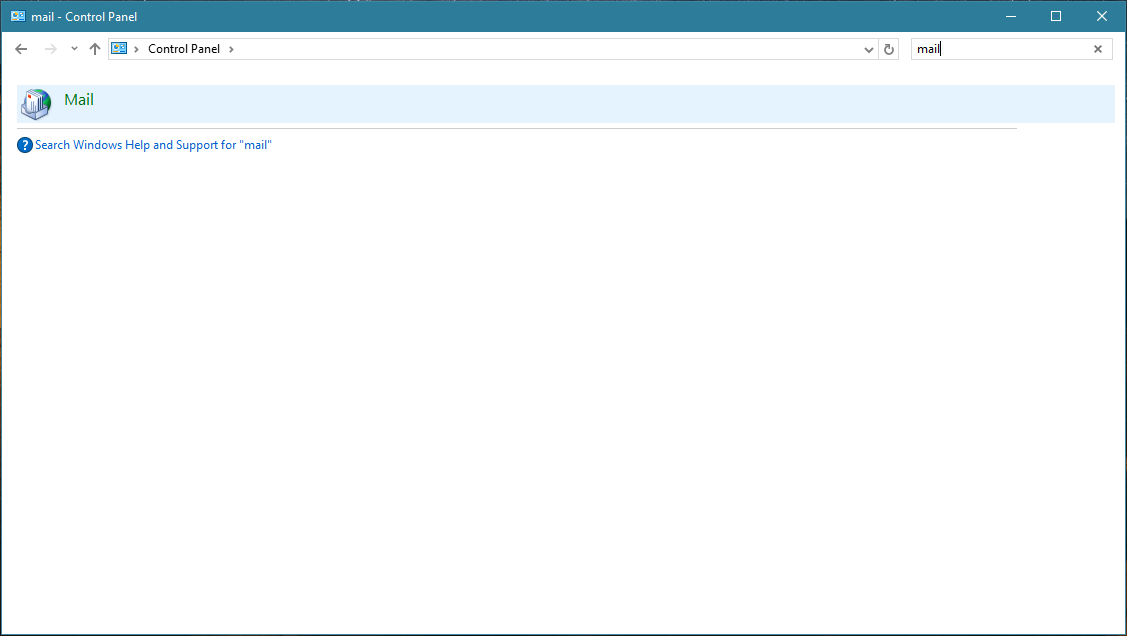
Press Windows Start button, search for Control panel, find and open Mail.
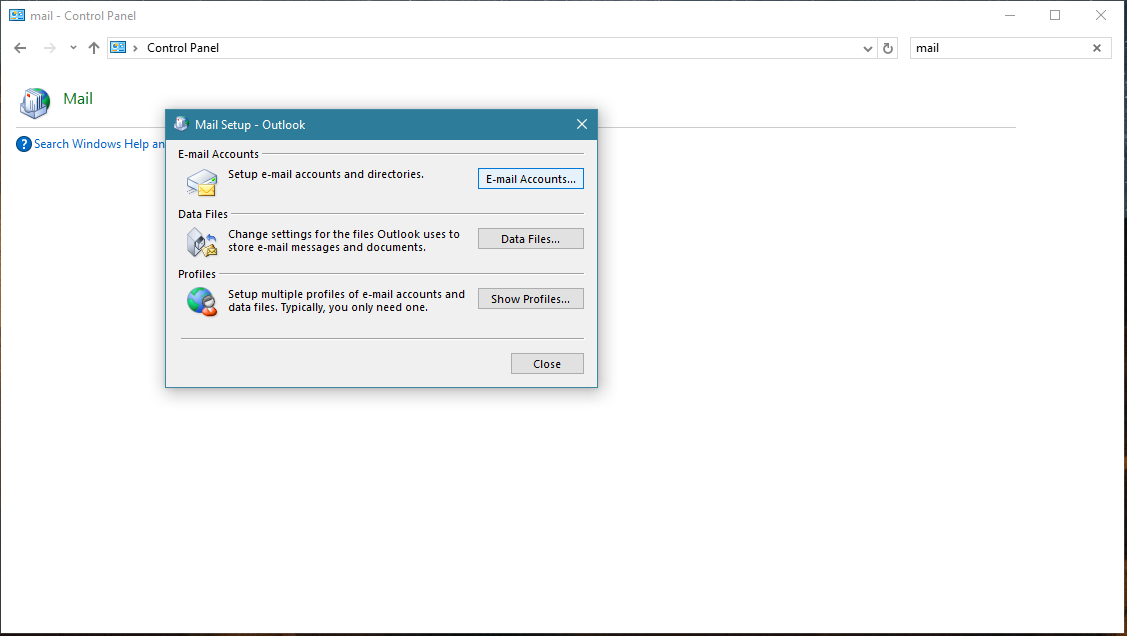
Press E-mail Accounts button.

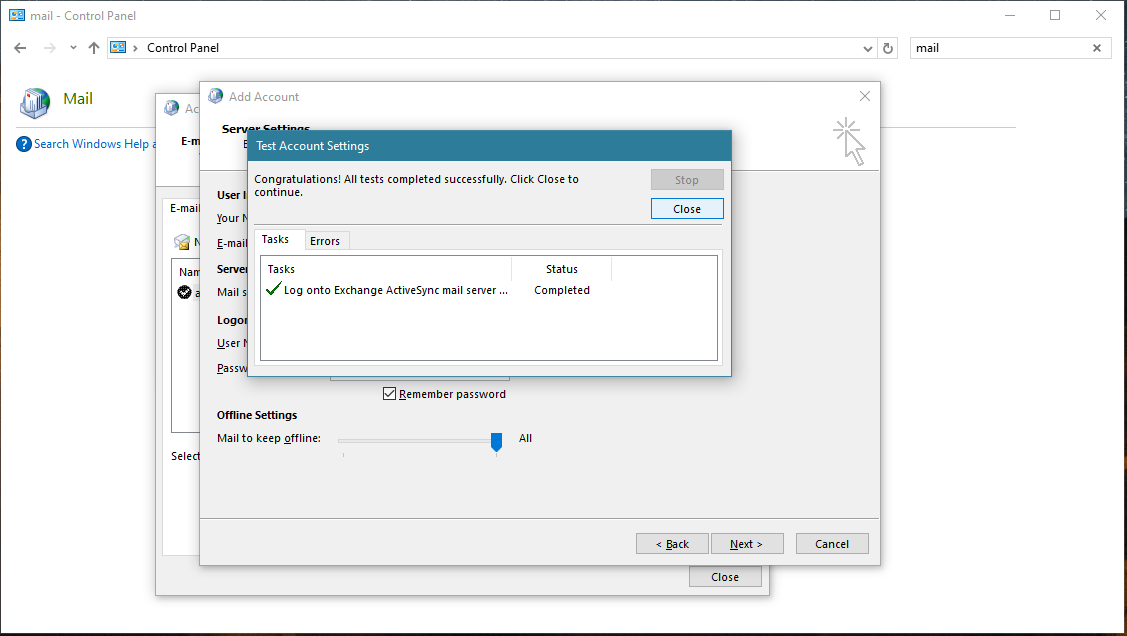
Account test should be performed. Press Close.
Press Finish. Now you can close all Control panel windows. Setup is complete.

Now you can run Outlook app. Your contacts, calendar and tasks should be synchronized automatically. Note that PhoneCopy items have their separate folder and calendar in Outlook app. Only these contact/task folders and calendar are synchronized with PhoneCopy.
This guideline also works for similar devices like Microsoft Outlook 2016, Microsoft Outlook 2019.
Now you can easily edit your contacts and other resources online in your PhoneCopy profile. You have access to your contact even if you forget your phone at home.
PhoneCopy also supports syncing notes, calendar events, and SMS messages on many devices, not just contacts. Check the PhoneCopy website to see the full list of supported data types for your phone.