
Would you like to transfer or synchronize data?
You can try FREE APPLICATION from online stores:



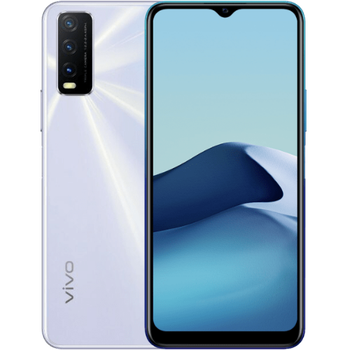

We used PhoneCopy.com service for this guideline. Using it, your can backup your contacts from your Vivo Y20a (v2101) easily. The whole backup, including the settings, can be done in several minutes.
This guideline also works for similar devices like Vivo IQOO Z5 5G (i2018), Vivo X80 Pro (v2145), Vivo Y12i (2007), Vivo Y1s 1929, Vivo Y21e (v2140), Vivo Y21T (v2135), Vivo Y33 (v2057).
Download PhoneCopy for Huawei from Huawei AppGallery to your Huawei phone, which you can download free of charge. After downloading and installation, go through the following steps.
Run the app and create new account. If you already have an account choose "sign on".
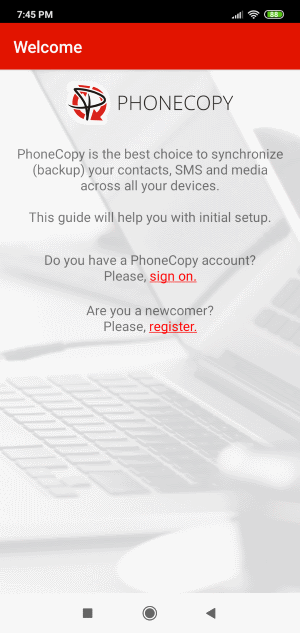
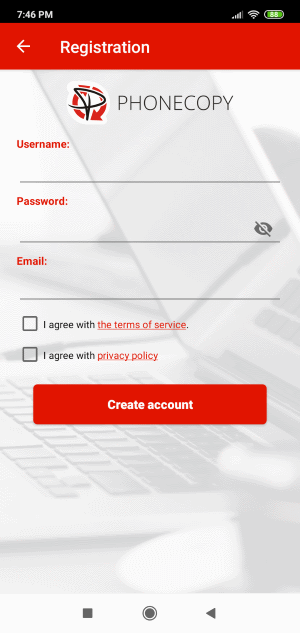
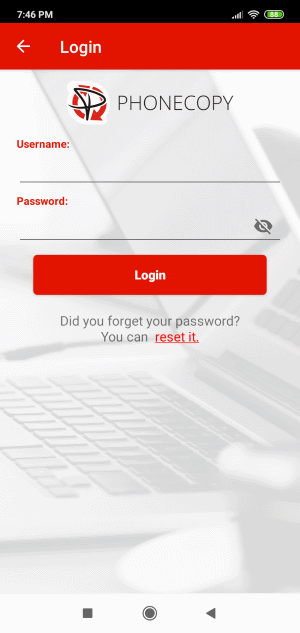
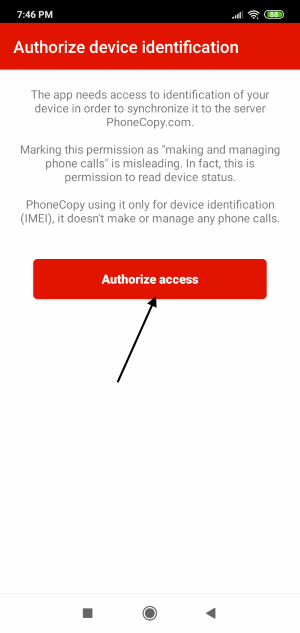
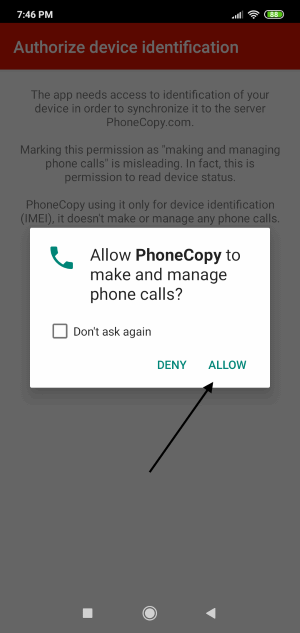
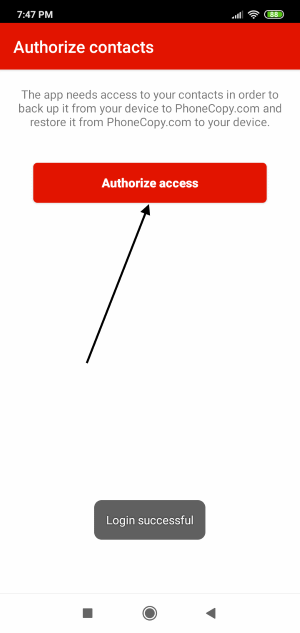
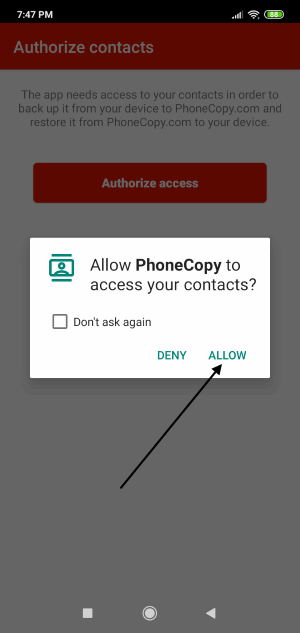
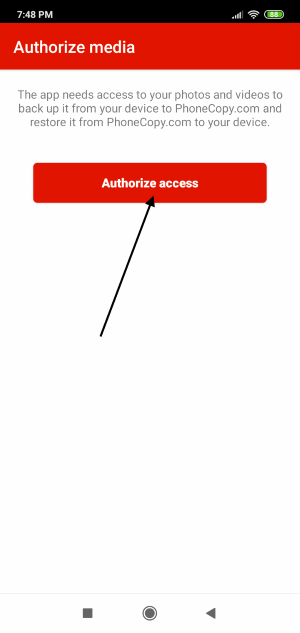
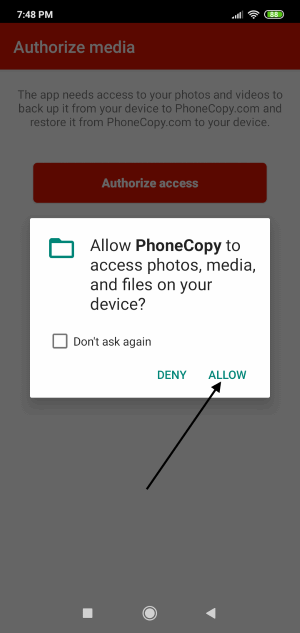
To allow correct functionality of PhoneCopy application we will kindly ask you to confirm access permissions for it.
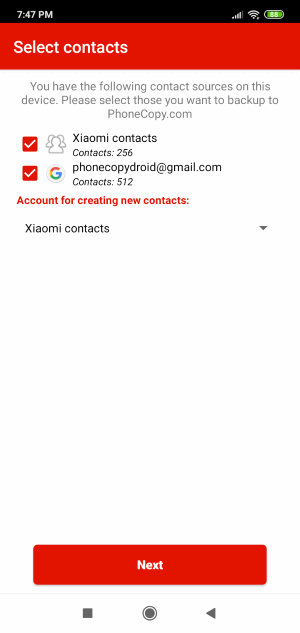
When you confirm access to contacts you can set which "contacts databases" you want to backup.
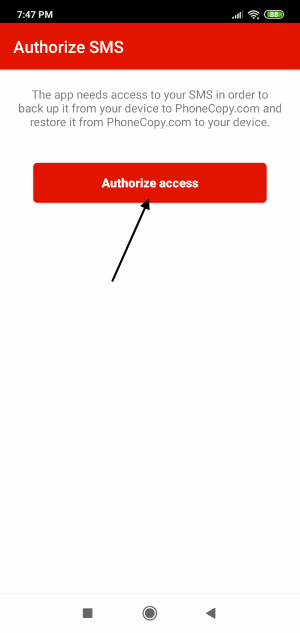
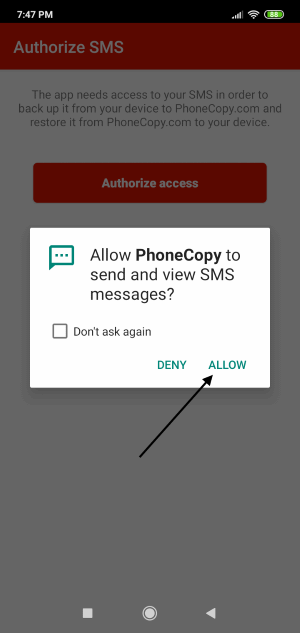
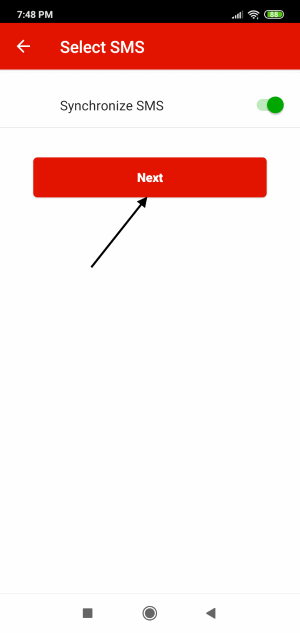
PhoneCopy allows to back up SMS too.
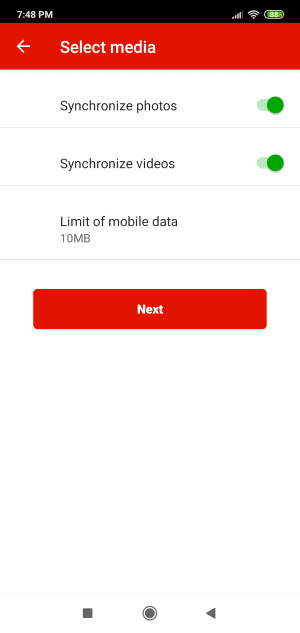
Then you can set up backup for media (photos and videos).
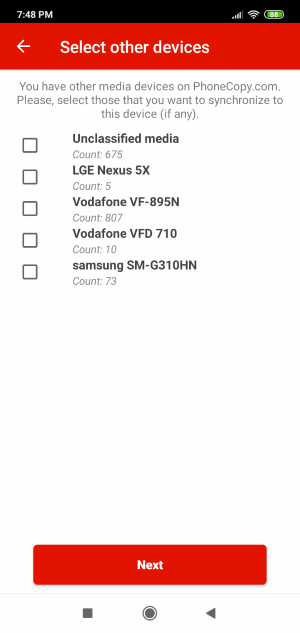
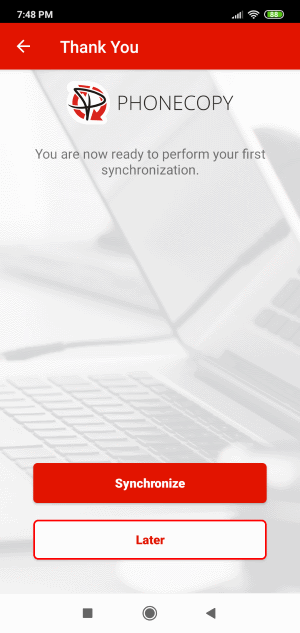
If you want download photos and videos from old phone (which was synchronized to PhoneCopy.com before) you can choose it in the next step. Then you can synchronize.
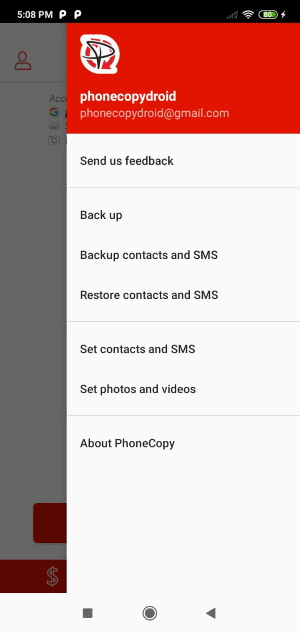
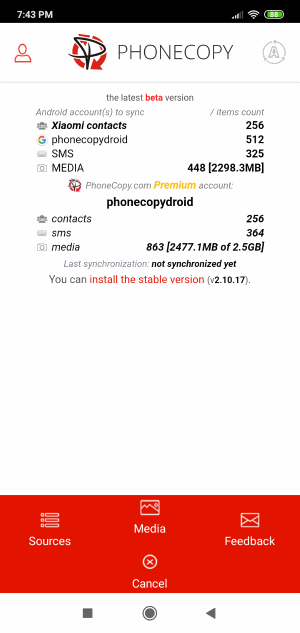
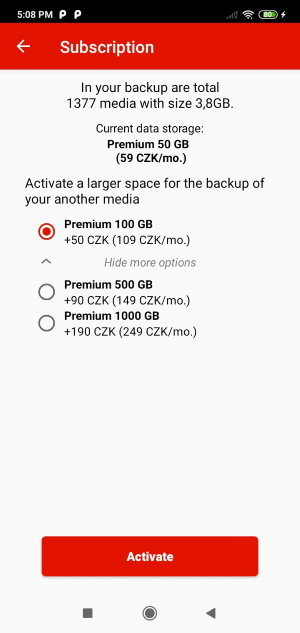
You can access all settings later by bottom menu of the application or by main menu. In case you exceed limits for a free account we recommend you to buy Premium
Certain Outlook version do not offer similar functionality directly from the app so our guide will use Windows Control Panel widget. Depending on the Outlook version, the texts on the following screens may differ. Always aim towards setting up an email account via Exchange ActiveSync using custom settings.
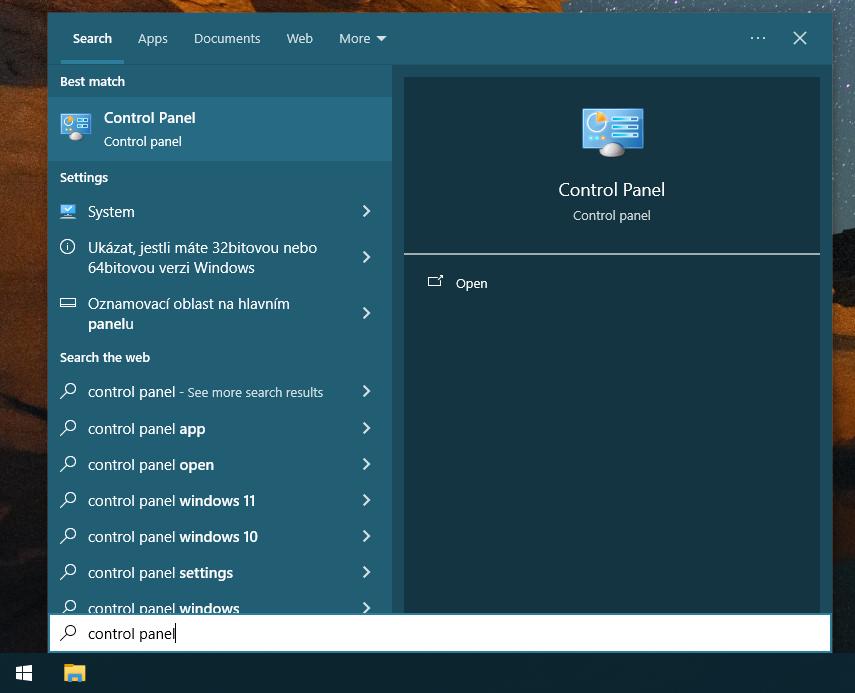
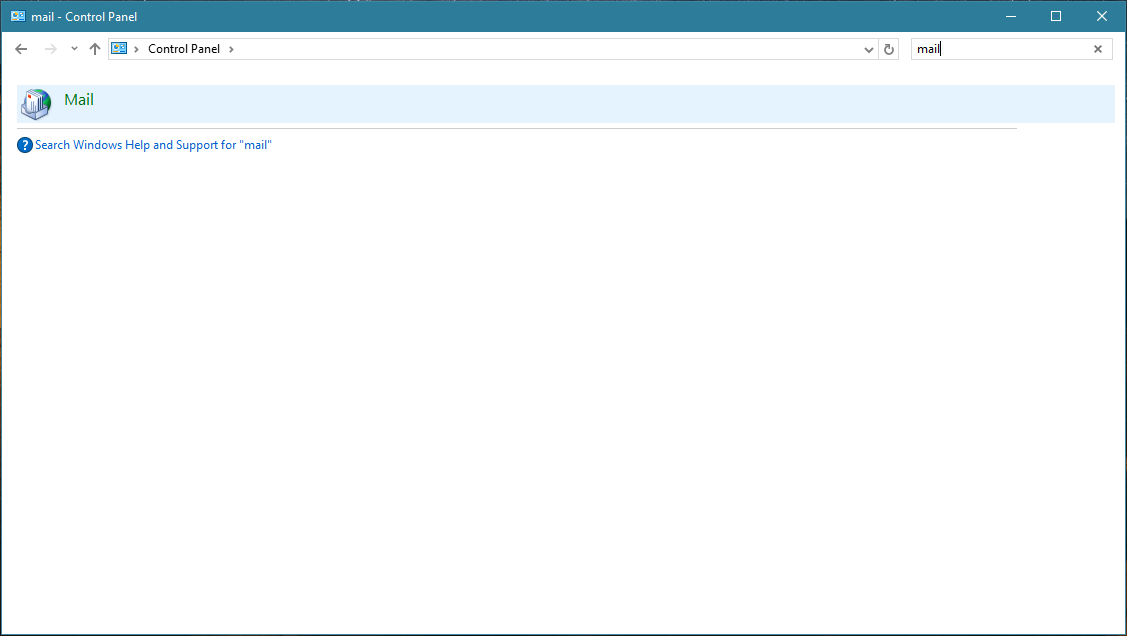
Press Windows Start button, search for Control panel, find and open Mail.
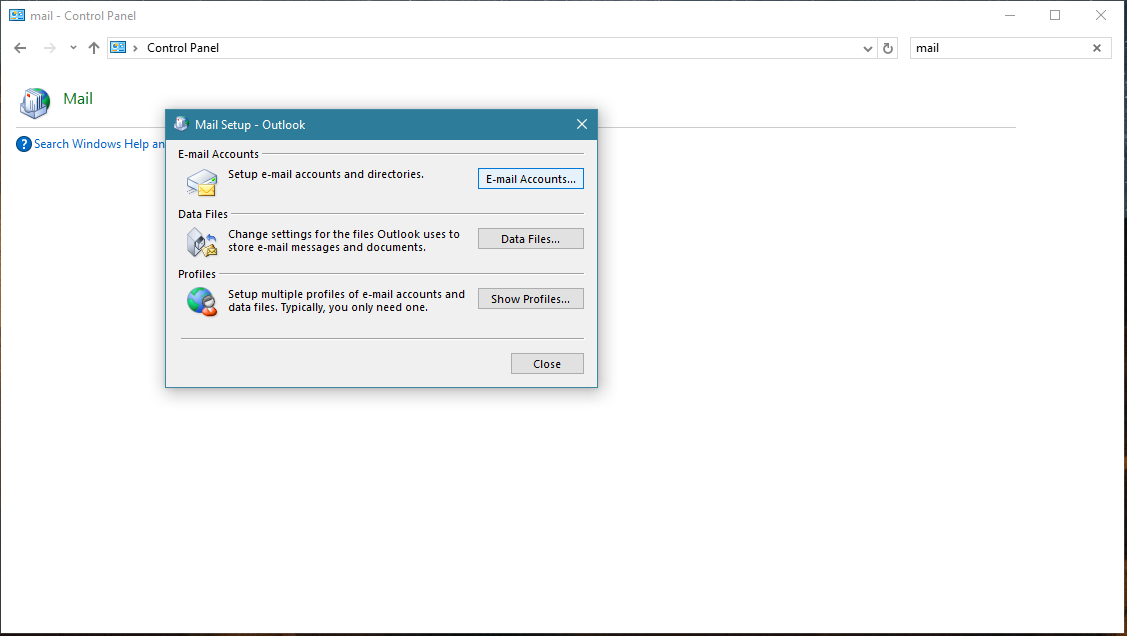
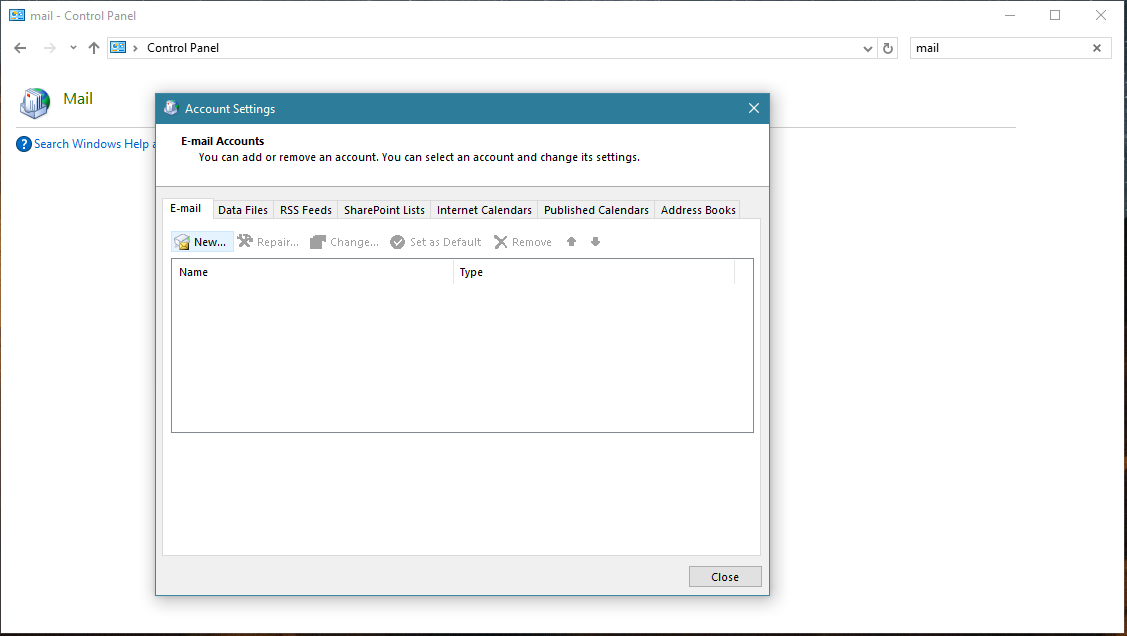
Press E-mail Accounts button.
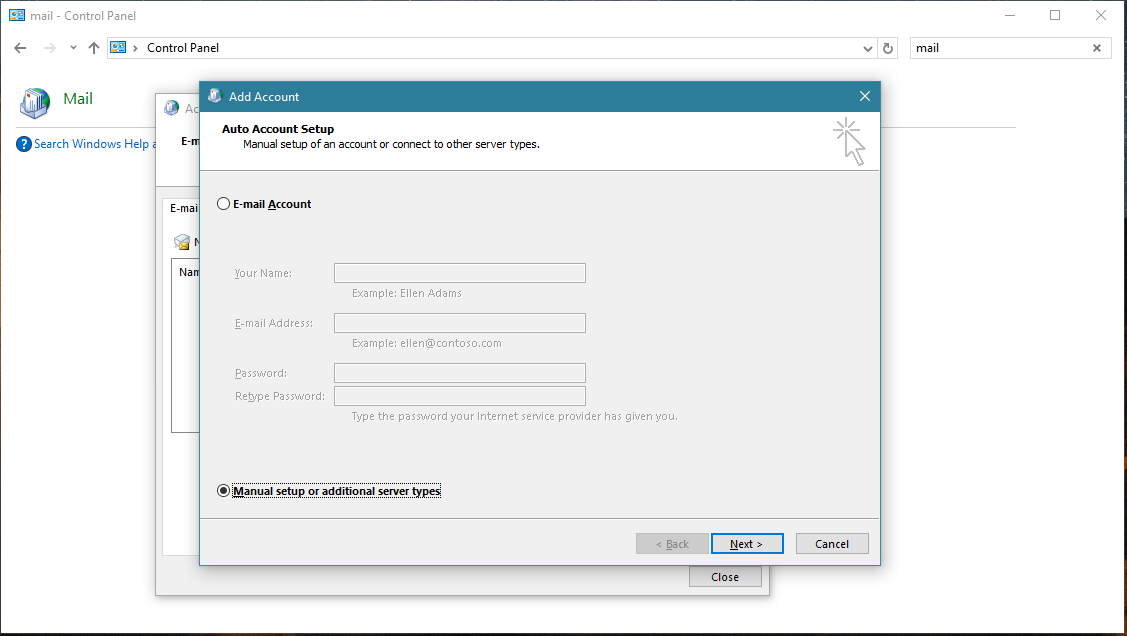
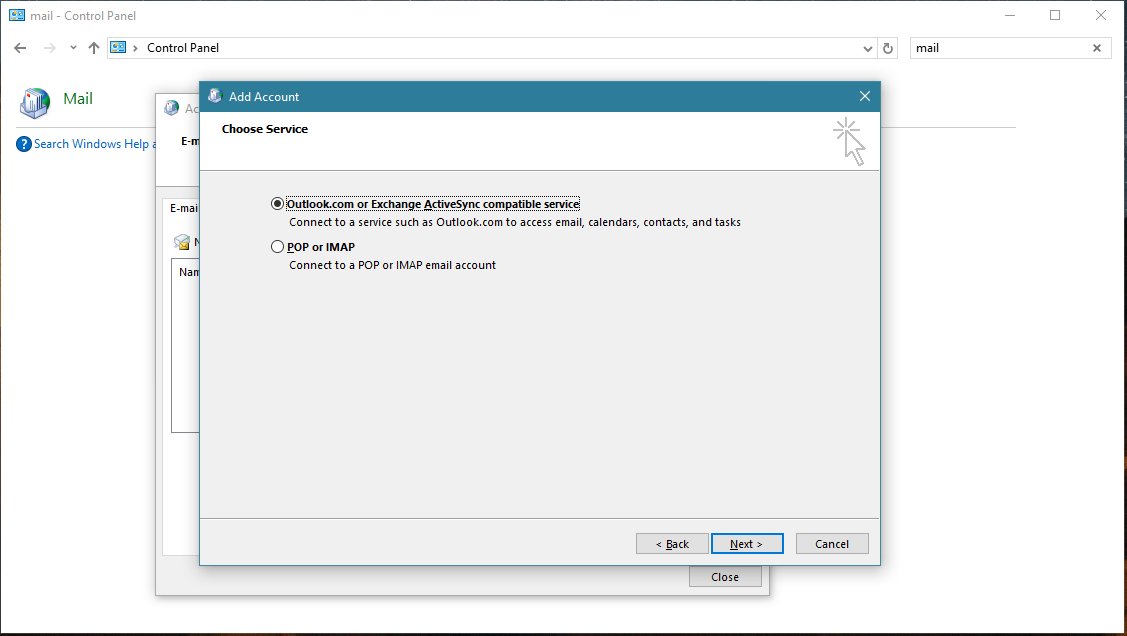
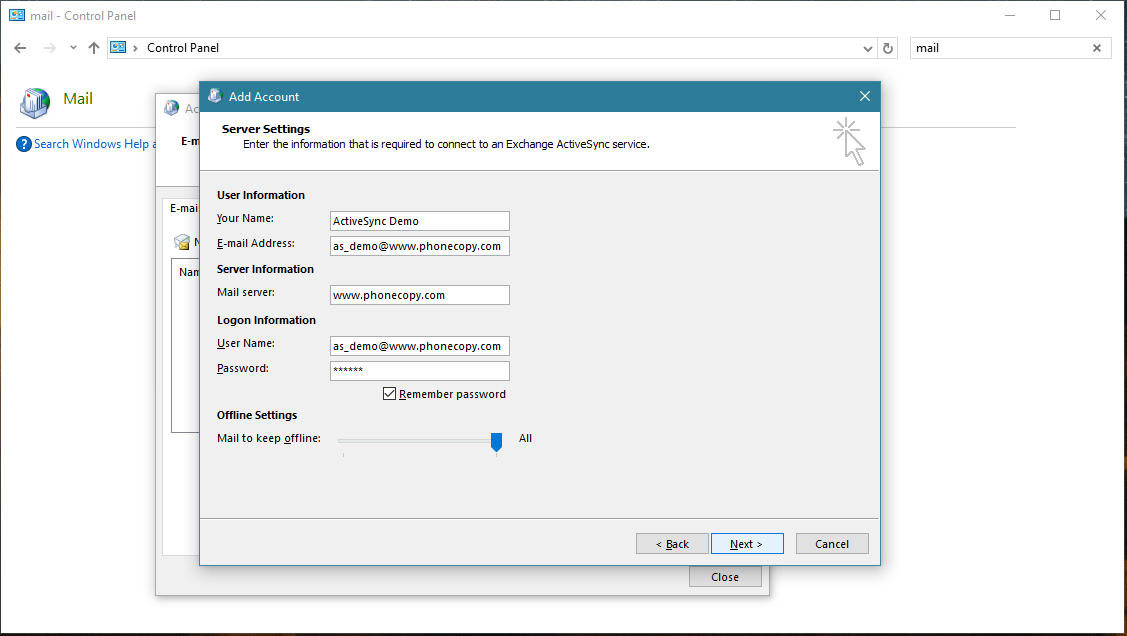
Account test should be performed. Press Close.
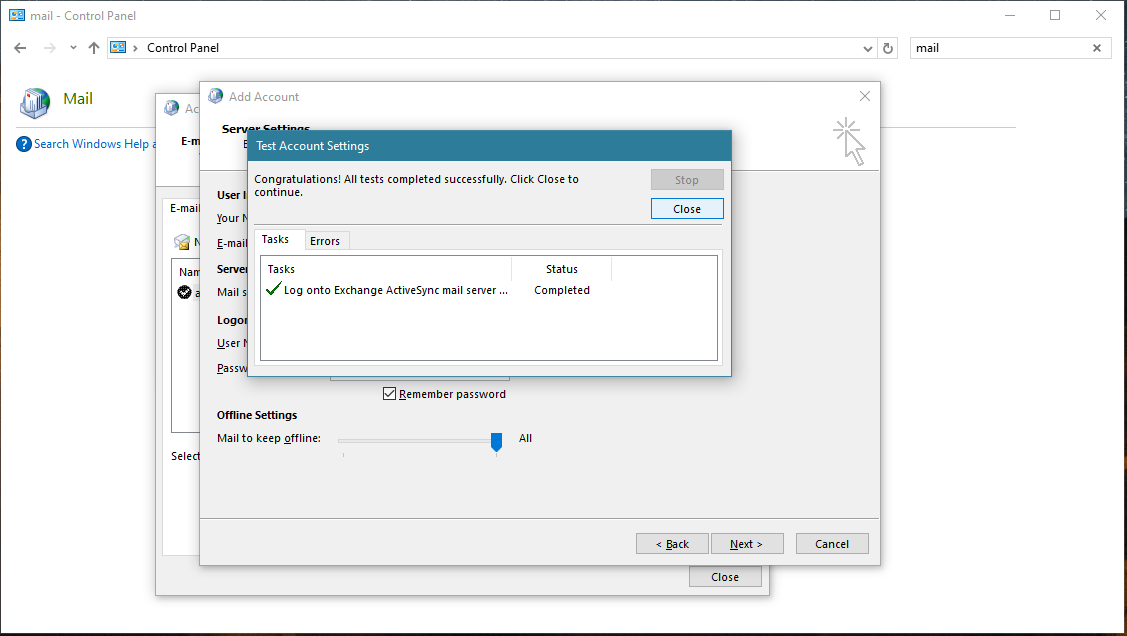
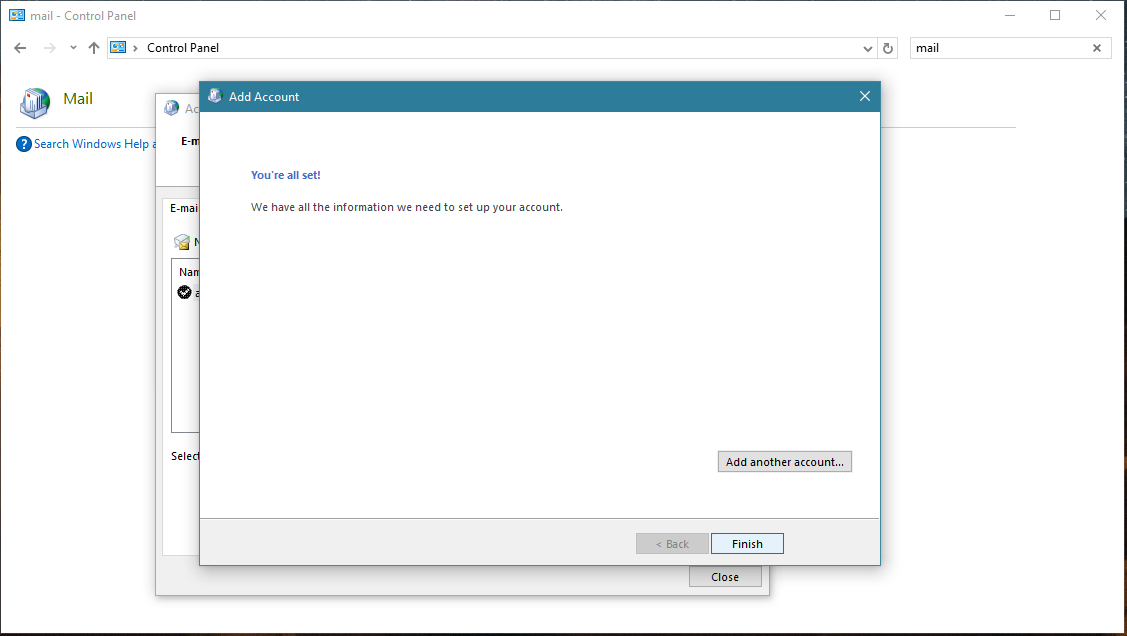
Press Finish. Now you can close all Control panel windows. Setup is complete.
Now you can run Outlook app. Your contacts, calendar and tasks should be synchronized automatically. Note that PhoneCopy items have their separate folder and calendar in Outlook app. Only these contact/task folders and calendar are synchronized with PhoneCopy.
This guideline also works for similar devices like Microsoft Outlook 2016, Microsoft Outlook 2019.
Well done — your contacts are now securely backed up in the cloud. Open your PhoneCopy account in any browser to review your data or make changes at any time.
If you ever get a new phone, you can restore all your contacts in minutes using PhoneCopy. The service supports a wide range of manufacturers, so switching between brands is no problem.